

Minecraft worlds are endless. Seriously. They can go for as long as your hard drive has storage space. Because of this, you’re bound to get lost once or twice… or maybe more. Now, Minecraft is aware of its limitless size and features a way for you to document your journey through Maps.
Maps are super useful and update as you build more creations in your world. However, did you know you can alter Maps to make them even bigger, or even clone them? These features and more are possible through the game’s Cartography Table.
This guide will cover everything you need to know about the Cartography Table, including how to build it, how to use it, and so much more. Let’s get started.
What Is The Minecraft Cartography Table?
The Minecraft Cartography Table is used for creating and editing Maps. Maps are a vital part of the Minecraft experience, allowing you to document your travels and ensure that you don’t get lost.
However, Maps only cover a certain distance. If you have a world bigger than 16 chunks (and let’s be honest, you will), you need to make multiple Maps to cover it.
But first, let’s start with how to make (and use!) a Map in the first place.
How To Make And Use Maps
To begin, you need to make an Empty Map. Empty Maps are created by combining eight sheets of Paper and a Compass in a Crafting Table as follows:

To make Paper, place three Sugarcane in a Crafting Table like this:

To make a Compass, combine one Redstone and four Iron Ingots in the Crafting Grid as follows:

To use your Map, right-click while holding it. It will slowly start filling out the chunk you’re in. If you see some blank space in your Map, explore that area, and it will automatically fill in.

Now, you can use a Cartography Table to do so much more with the Map.
How To Make A Cartography Table
Making a Cartography Table isn’t too tricky. It simply requires two pieces of Paper and four Planks of any kind. You can even mix and match them.
Once you have those materials, organize them in a Crafting Table as follows:

Place the Cartography Table, and let’s get into the real fun.
How To Use The Cartography Table In Minecraft
There are a few ways to use Maps in the Cartography Table UI. To start, we’ll talk about zooming out a Map so it covers more ground.
Zoomed Out Map
Making a zoomed-out Map allows you to map out way more of your world.
Combine your Map with a piece of Paper to achieve this. The UI will show you just how much bigger the new Map will be.
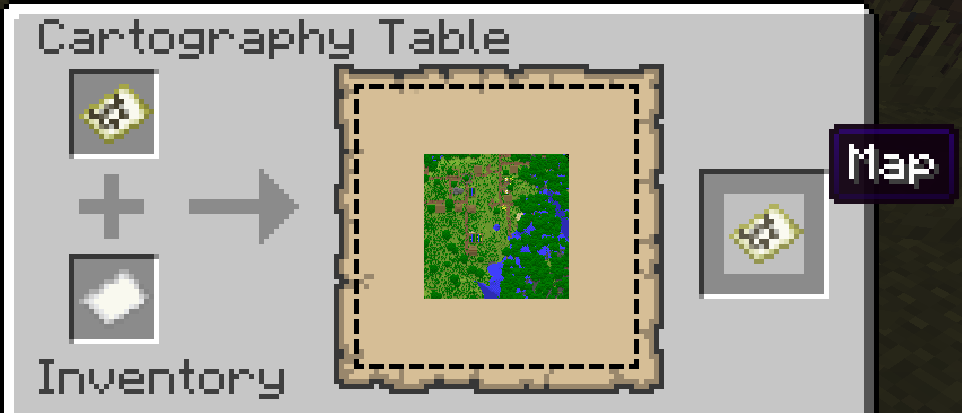
Now, use the new Map and see how the Map alignment has changed.
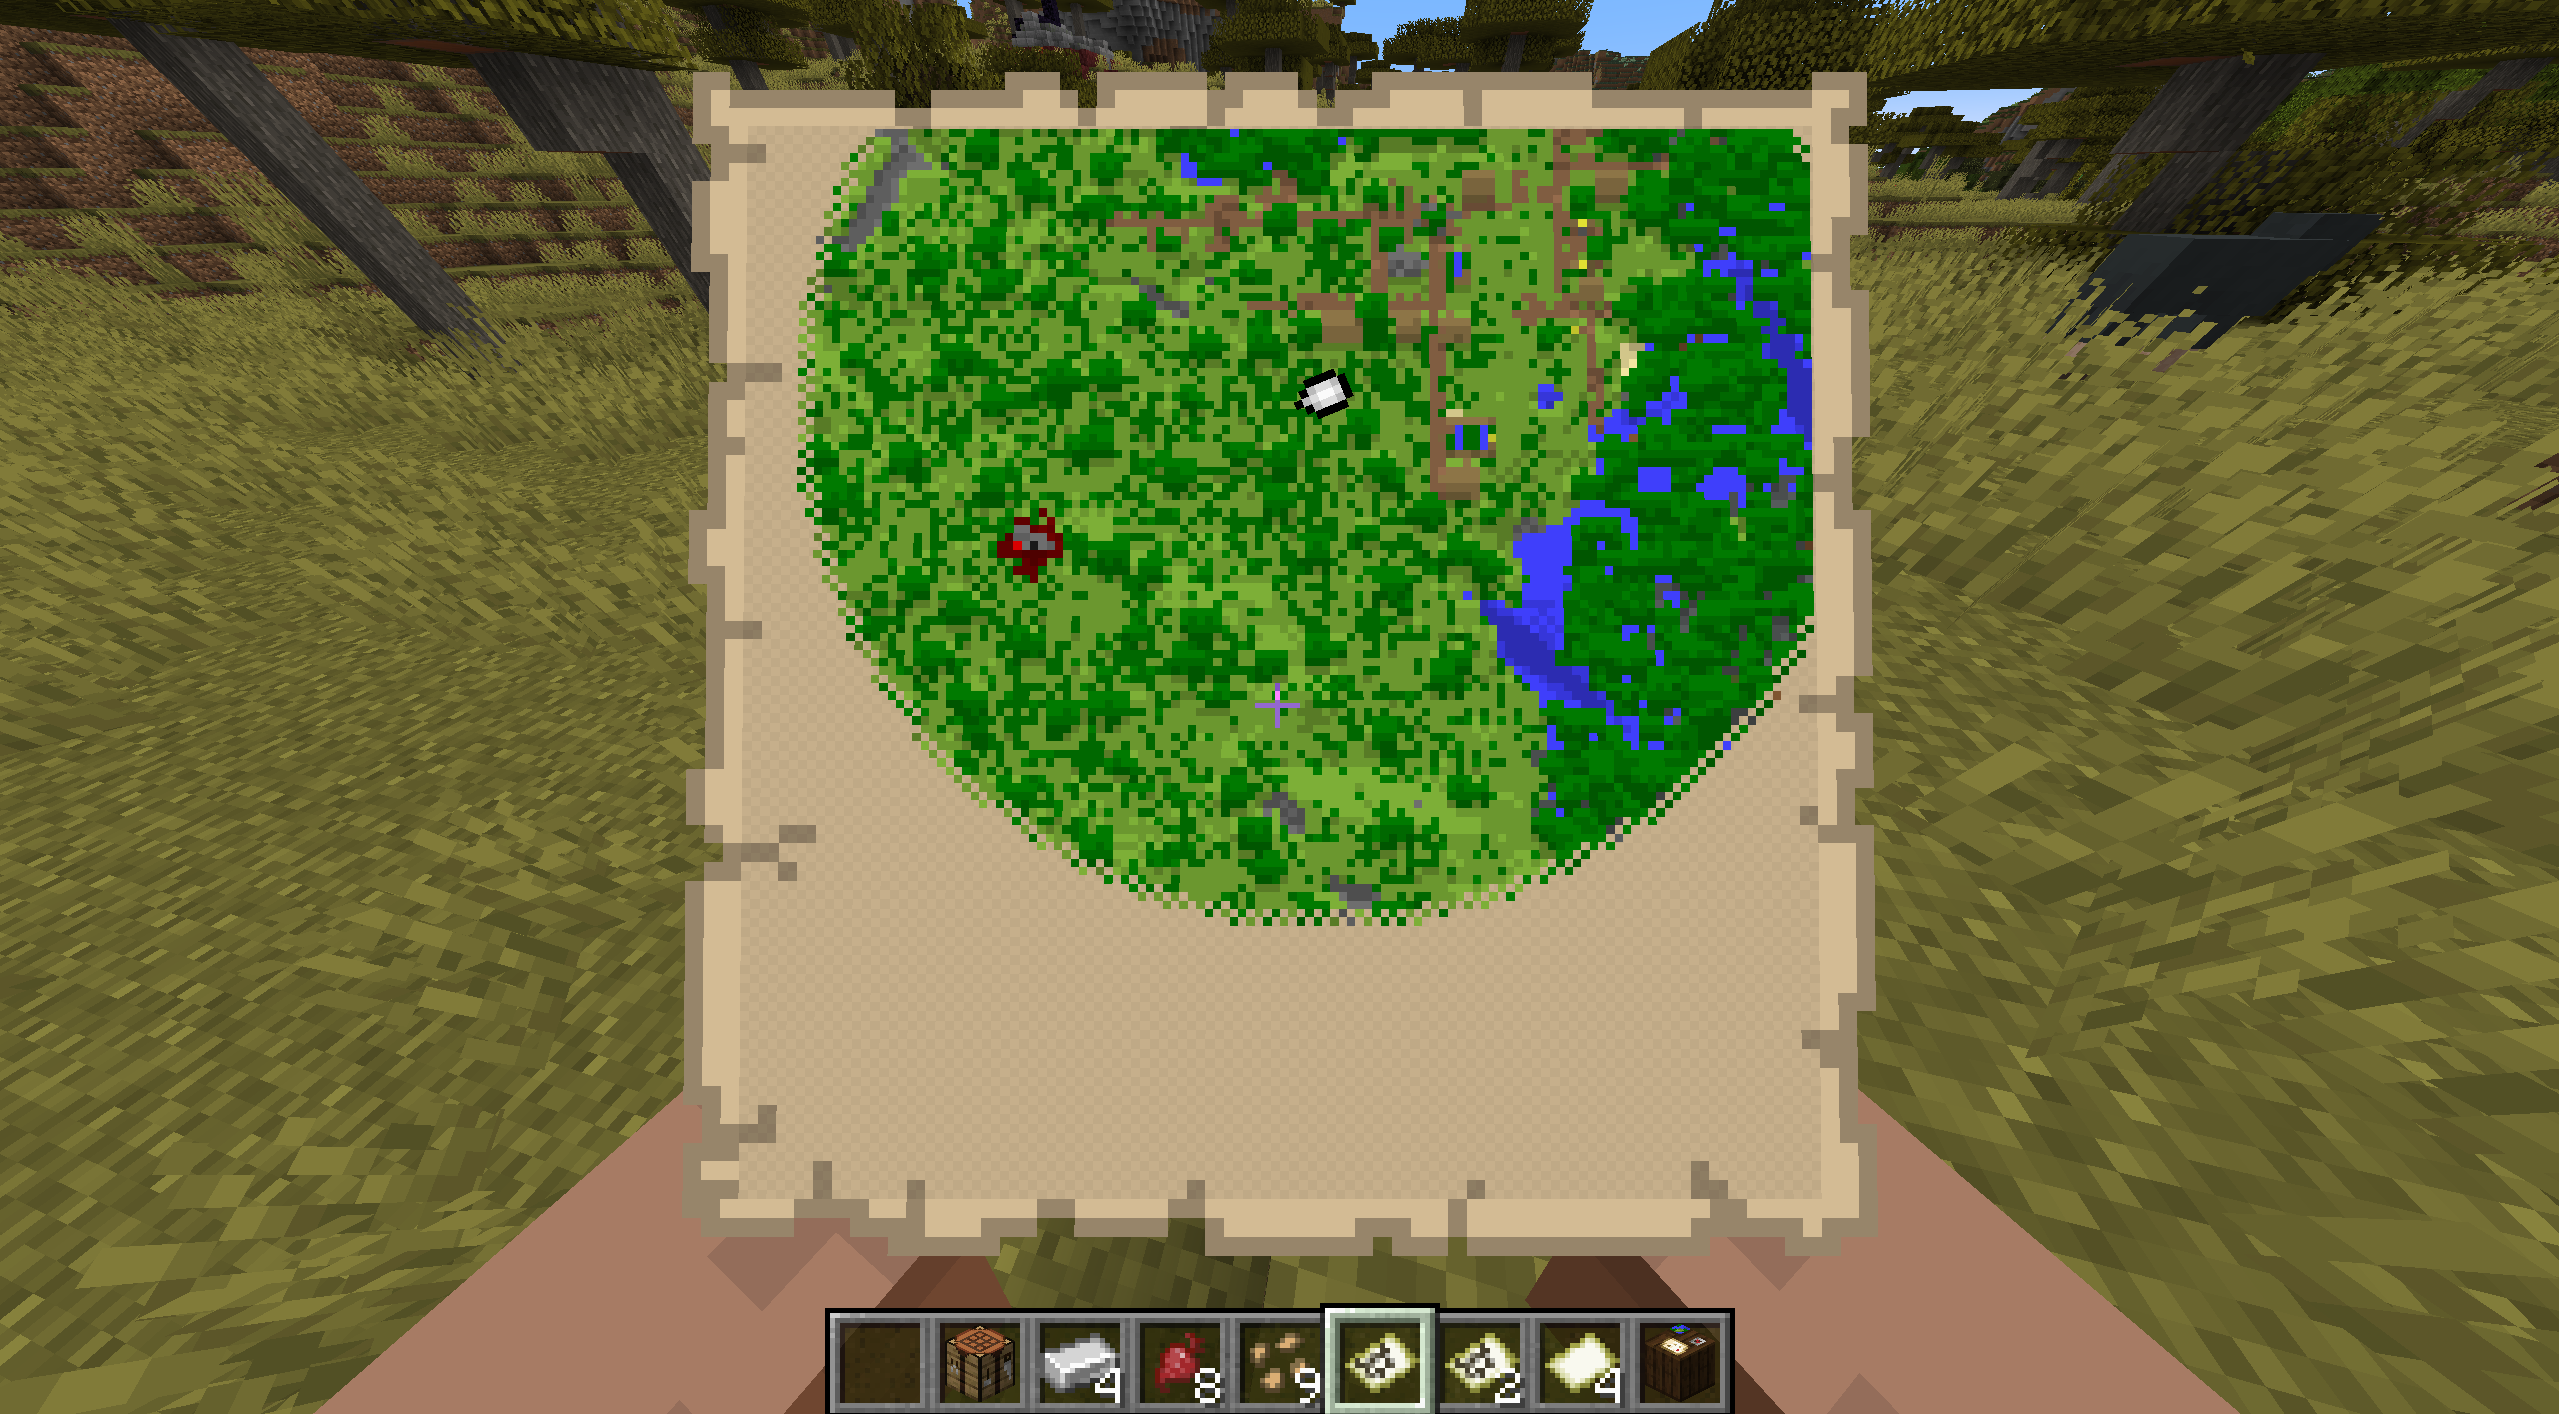
You can use another piece of Paper to zoom out the Map even more! Do it multiple times to achieve the largest Map!

Of course, doing this with a few different Maps will allow you to document a massive amount of your world.
Duplicate Maps
If you’d like to duplicate a Map to, say, give to a friend, simply combine your existing Map with an Empty Map.

Locked Map
Finally, some players craft Cartography Tables to lock Maps.
You see, Maps can update as you create new structures and add other things to your world. If you don’t want this to happen, like if you’re creating a static Map wall, you can lock the Map to prevent this.
Locking Maps is easy. Just combine an existing Map with a Glass Pane in the Cartography Table.

Maps are really fun to use! Not only do they help you document your world, but you can also place them in an Item Frame to show them off and even create a Map Wall.
How To Make A Map Wall
To start your Map wall, you must first make an Item Frame.
Create an Item Frame by combining eight Sticks and one Leather in a Crafting Table as follows:

Next, place the Item block. Interact with it while holding the Map, and you will place it.

Now, using your knowledge of Maps and the Cartography Table, you can document vast amounts of your world to display in a massive Map Wall.
Simply create multiple Maps by creating a ton of Empty Maps and using them in unmapped spaces. Eventually, you can create a large display of your world.

With all of that Map talk in mind, know that you can also use a Cartography Table with Note Blocks to create unique bass sounds.
First, create a Note Block similar to how you would a Compass, only with Planks instead of Paper.

Next, place the Note Block on top of a Cartography Table to create a neat bass sound.

Minecraft: Bedrock Edition Cartography Table
Before wrapping up, know that you might see a few Cartography Table terms we didn’t cover here, specifically the Locator Map. Unfortunately, these features are only available in Bedrock Edition.
The Locator Map allows you to track players while you document the world, a feature that normal Maps lack.
Also, Bedrock Edition Cartography Tables have a renaming Maps feature. Sadly, you cannot name Maps in Java Edition.
With all this knowledge of Maps now stuck in your brain, why not create some Maps and document a world with your friends?
If you’re looking to play Minecraft with your friends, check out NameHero for a comprehensive server solution.
Our servers offer support for up to 32 players, with built-in DDOS protection alongside comprehensive backups. Plus, you can upload Adventure Maps to any server you’d like for complete access to them! For more information on getting a NameHero server, click here.
NameHero specializes in delivering some of the very best in gaming server tech without breaking the bank. Every Minecraft server comes with DDR4-3200 RAM, NVMe storage, AMD EPYC CPUs, and more!
Already have a server? That’s okay, come hang out with us on Discord!

Max is a freelance writer with a love for gaming and technology. He’s always looking for the next big game to play and tinkers with tech in his remaining free time.
Leave a Reply