
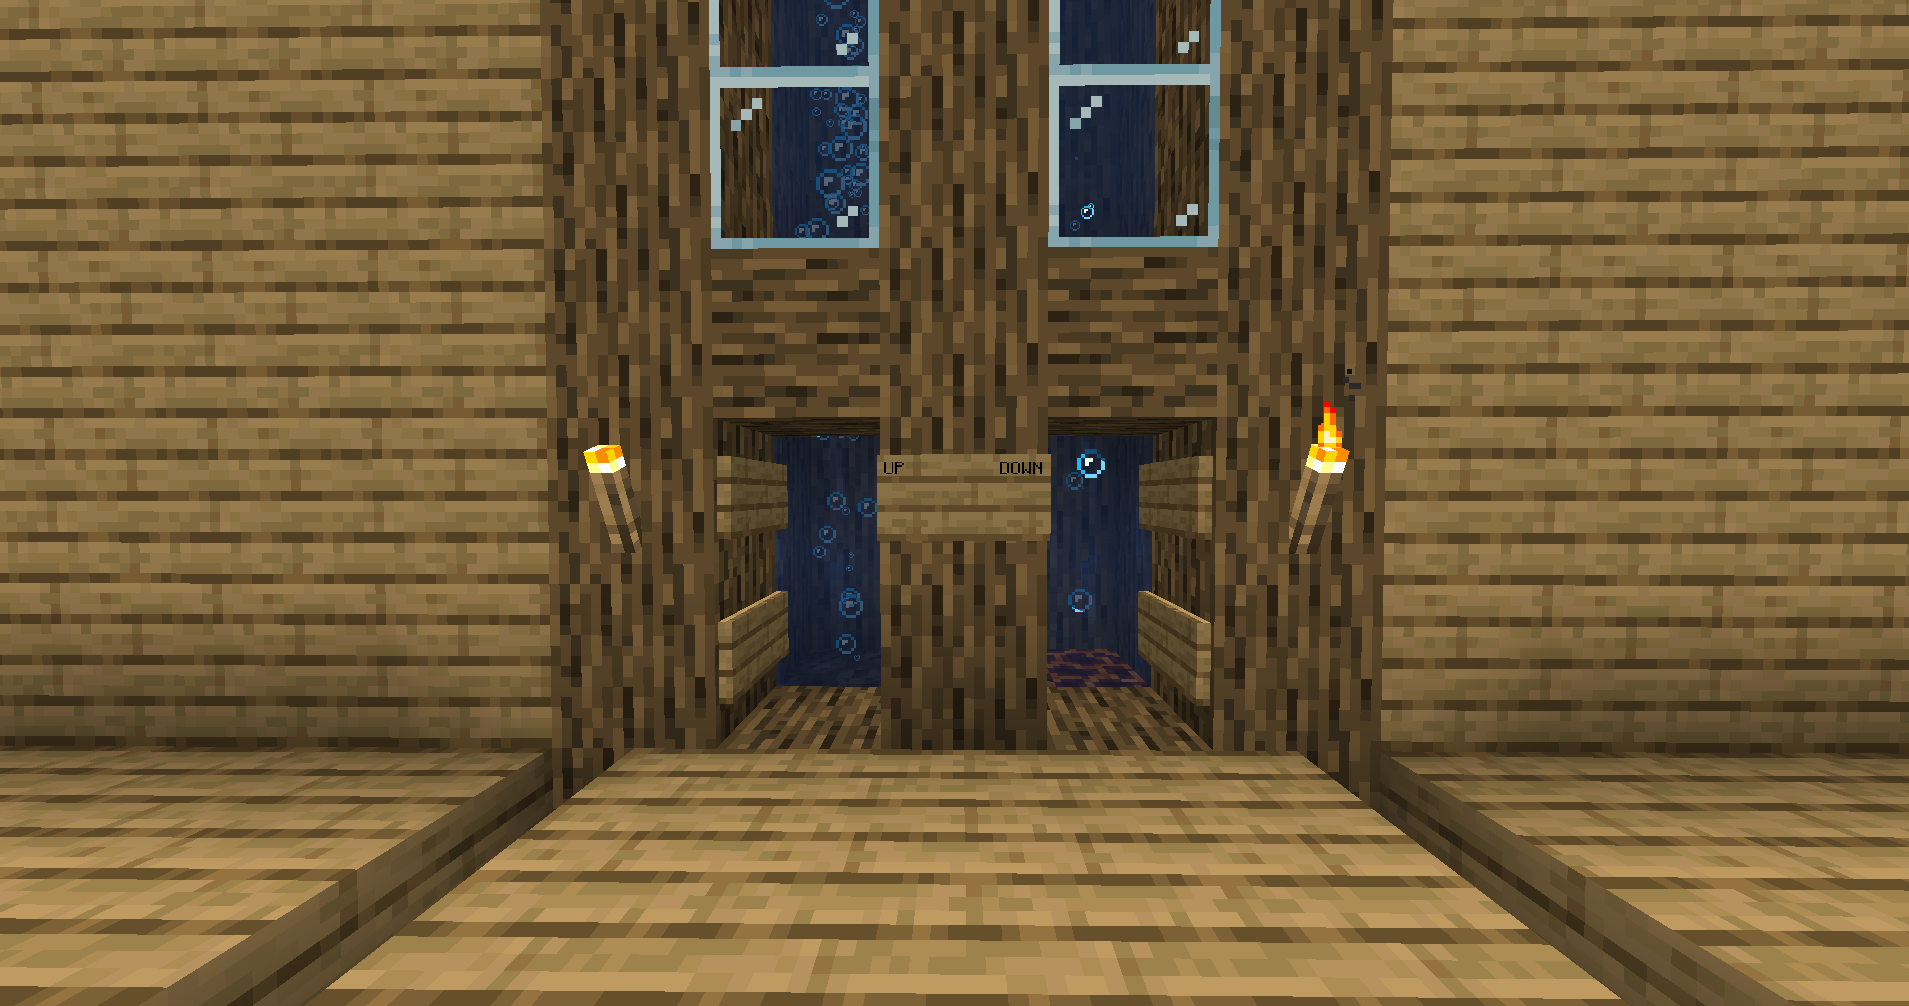
There are a plenty of ways to travel throughout your Minecraft world. Boats help you cross the ocean and camels help you across the desert. There is no lack of transportation in the Minecraft world; however, if you prefer a vertical transportation method, the water elevator will be your best friend.
Updated 7/30/2025
Prefer To Watch Instead Of Read? Check Out Our New Video!
What Is A Water Elevator?
A water elevator is a column of water that you can use to travel vertically without using ladders or stairs.
What You Need for A Water Elevator
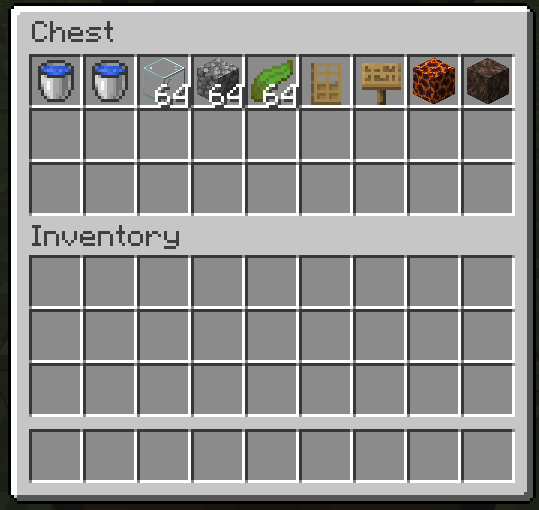
Before constructing a water elevator, you will need to gather the following:
- Soul Sand Block
- Water Buckets
- Kelp
- Glass Blocks (optional)
- Building Blocks
- Sign or Door
Let’s break down what each item does and where you can find them:
Soul Sand
Soul Sand is the key ingredient for the “up” part of your elevator. When placed under water, it creates bubbles that push you upward. You can find Soul Sand in the Nether, typically abundant in Soul Sand Valleys or scattered around the Nether.
Magma Block
Magma Blocks are what you will use to create the “down” elevator. When placed at the bottom of a water column, they create a bubble stream that pulls you downward. You can find Magma Blocks in ocean ravines or in the Nether.
Kelp
Kelp is responsible for converting flowing water into source blocks. This will be necessary for the elevator to function. You can find kelp in most ocean biomes.
Signs or Doors
You will need to keep water inside your elevator and prevent water from spilling out. Signs are great for compact 1×1 elevators, but doors give you more of a polished look if aesthetics matter in your base.
How To Build A Water Elevator
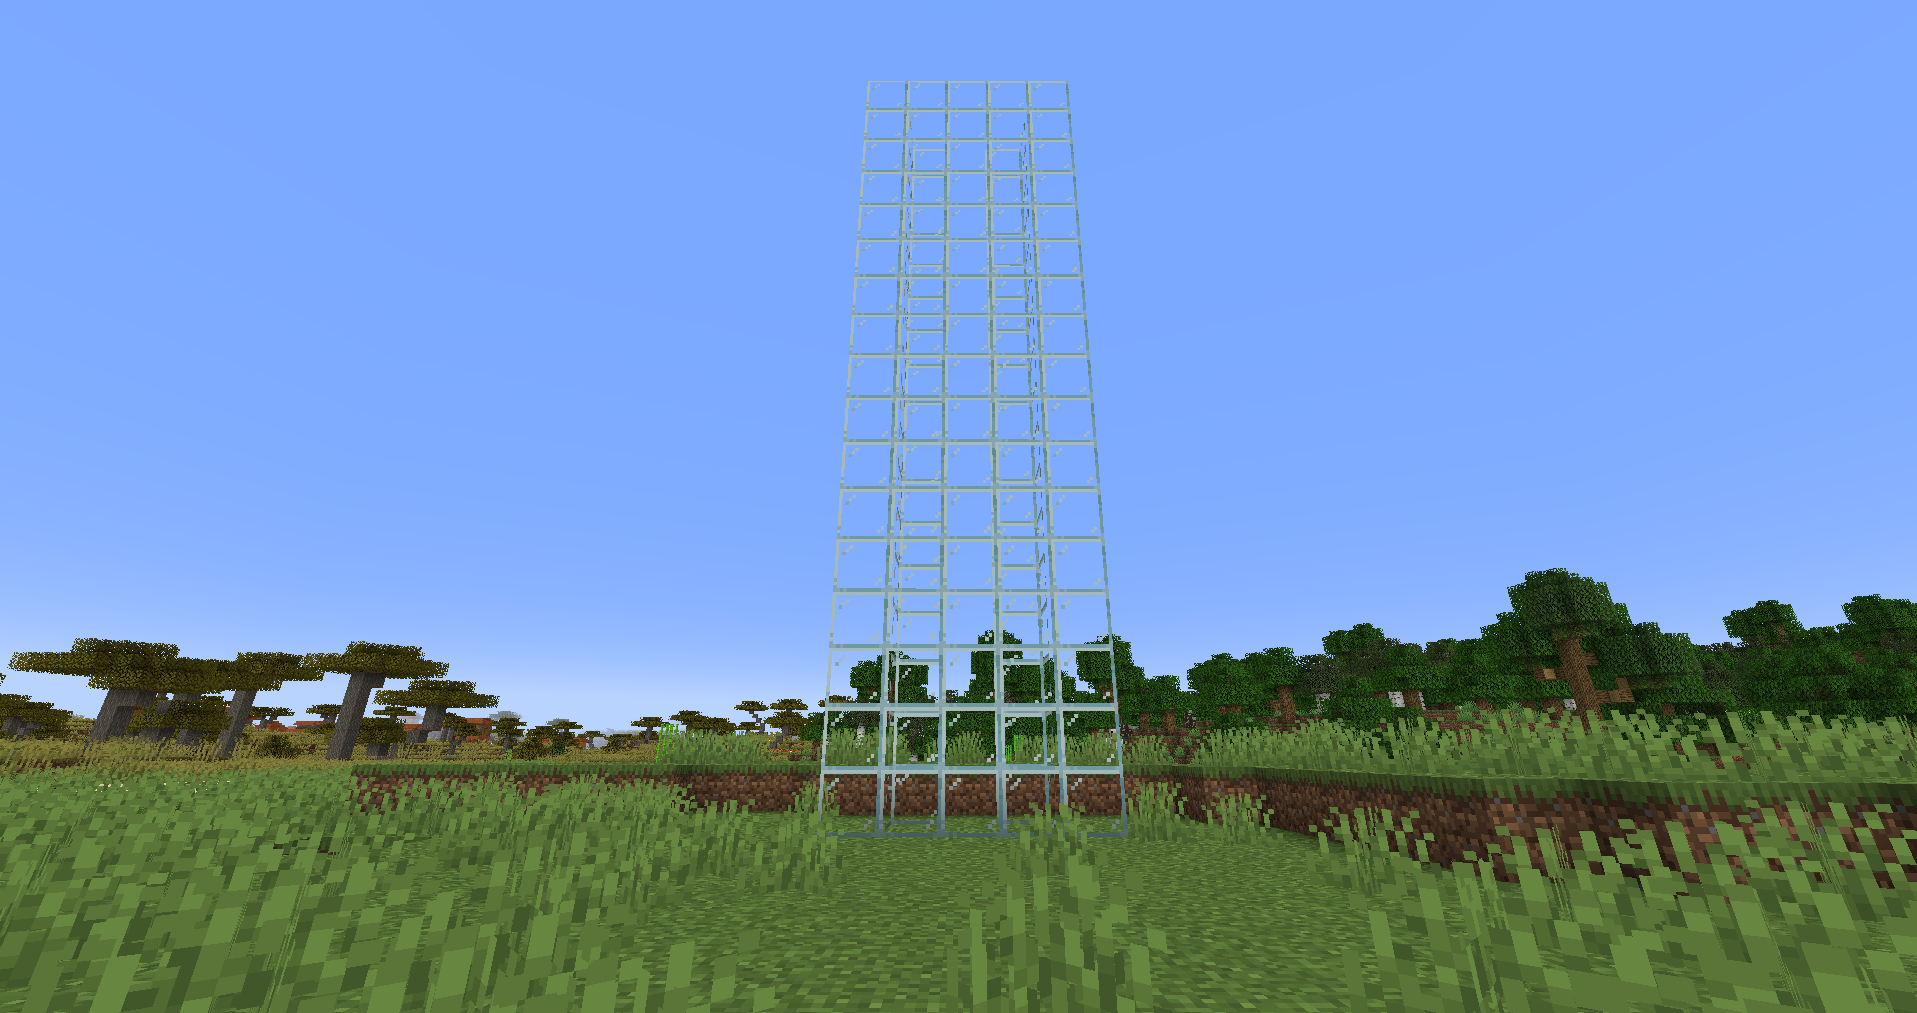
Step 1: Construct the Elevator Shaft
The first step is to build or dig out the vertical structure for your elevator. This can be as tall as you want, depending on your desired height.
Start by building the shaft using a block of your choice. Glass will provide you with a view while using the elevator, but you can use other materials such as stone or wood too. The shaft should be at least 1 block by 1 block wide; however, you can make it 2×2 for a more larger and spacious design.
Make sure to leave openings for entrances and exits at the top and bottom of the shaft. If you intend on making multiple stops on different levels, leave gaps in the shaft for each one. This is where your signs or doors will go.
Note: If you want to travel up AND down, it’s a good idea to construct two separate shafts (one for going up, another for going down).
Step 2: Add Water to the Shaft
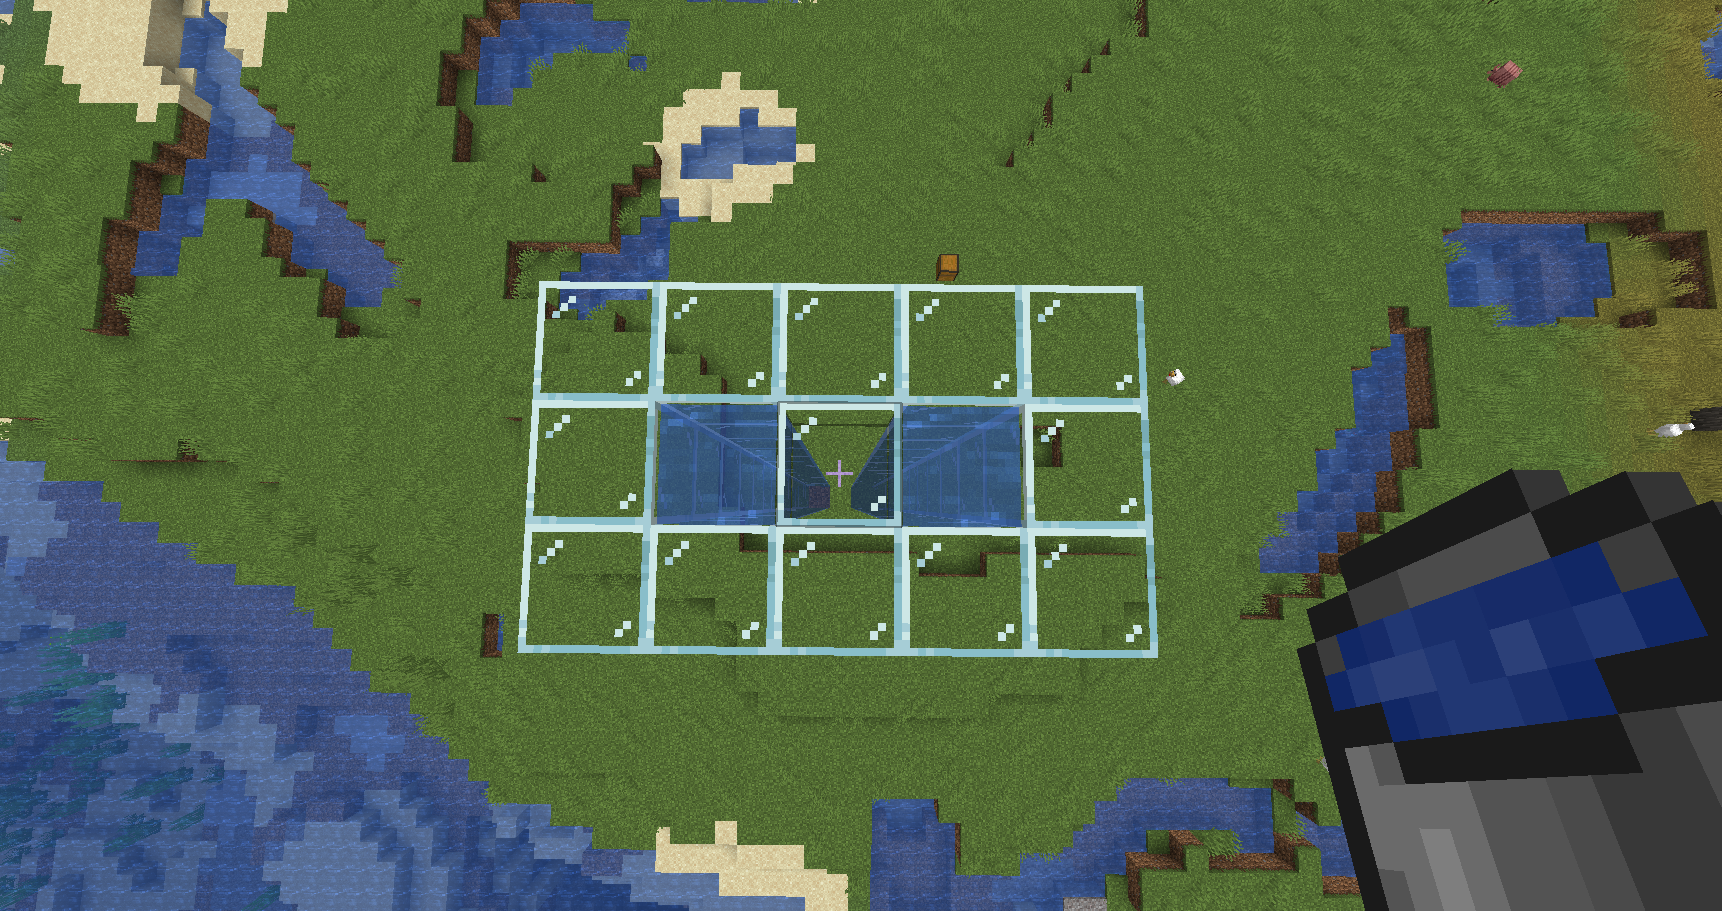
After building the elevator shaft, it is time to fill it with water.
Place water at the top of the elevator shaft. The water will flow down and make its way to the bottom. If you’re building a 2×2 shaft, you’ll need to place water in the four columns at the top to ensure it flows correctly.
Step 3: Convert Flowing Water into Water Source Blocks
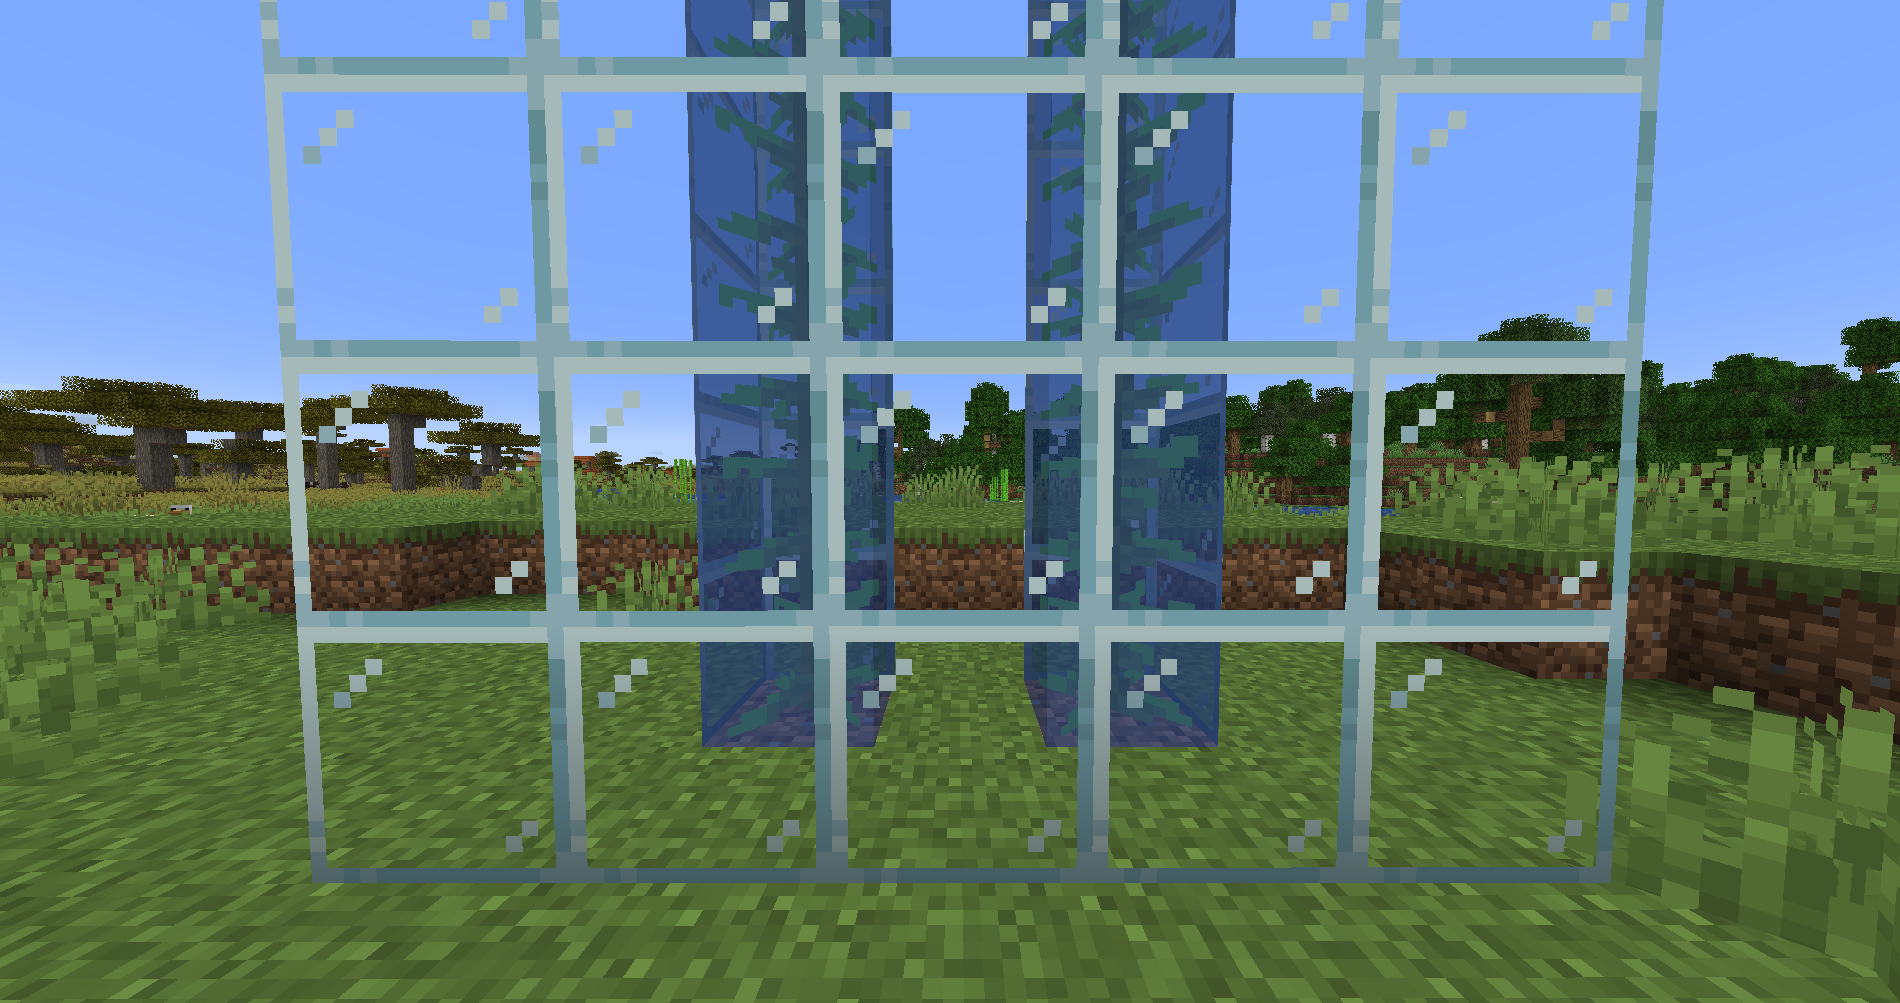
Kelp is used to turn the flowing water into source blocks. Plant kelp at the bottom of the shaft and work your way up until you reach the top of the shaft. Once done, break the kelp. You should now have a column of water source blocks.
Step 4: Make It Work
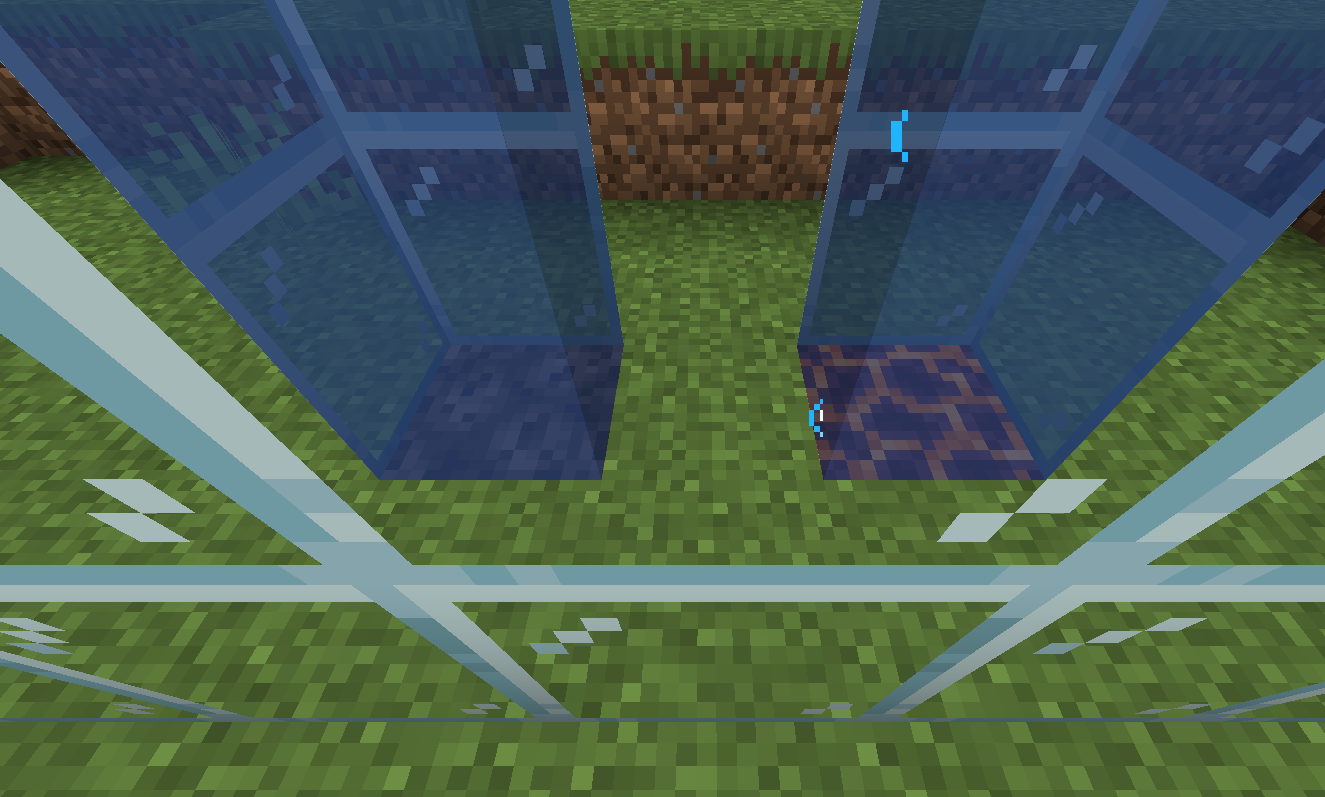
Once your shaft is filled with water source blocks, it’s time to make it functional.
Upward Elevator: Use a soul sand block to create the upward-flowing part of the elevator. Place soul sand at the very bottom of the water column. This will generate bubbles that push you up to the top.
Downward Elevator: Use a magma block to create the downward-flowing part of the elevator. Place the magma block at the bottom of the second shaft.. the bubbles from the magma block will pull you down to the bottom.
Note: Magma blocks will deal damage to you unless you crouch while on them.
Step 5: Add Signs or Doors
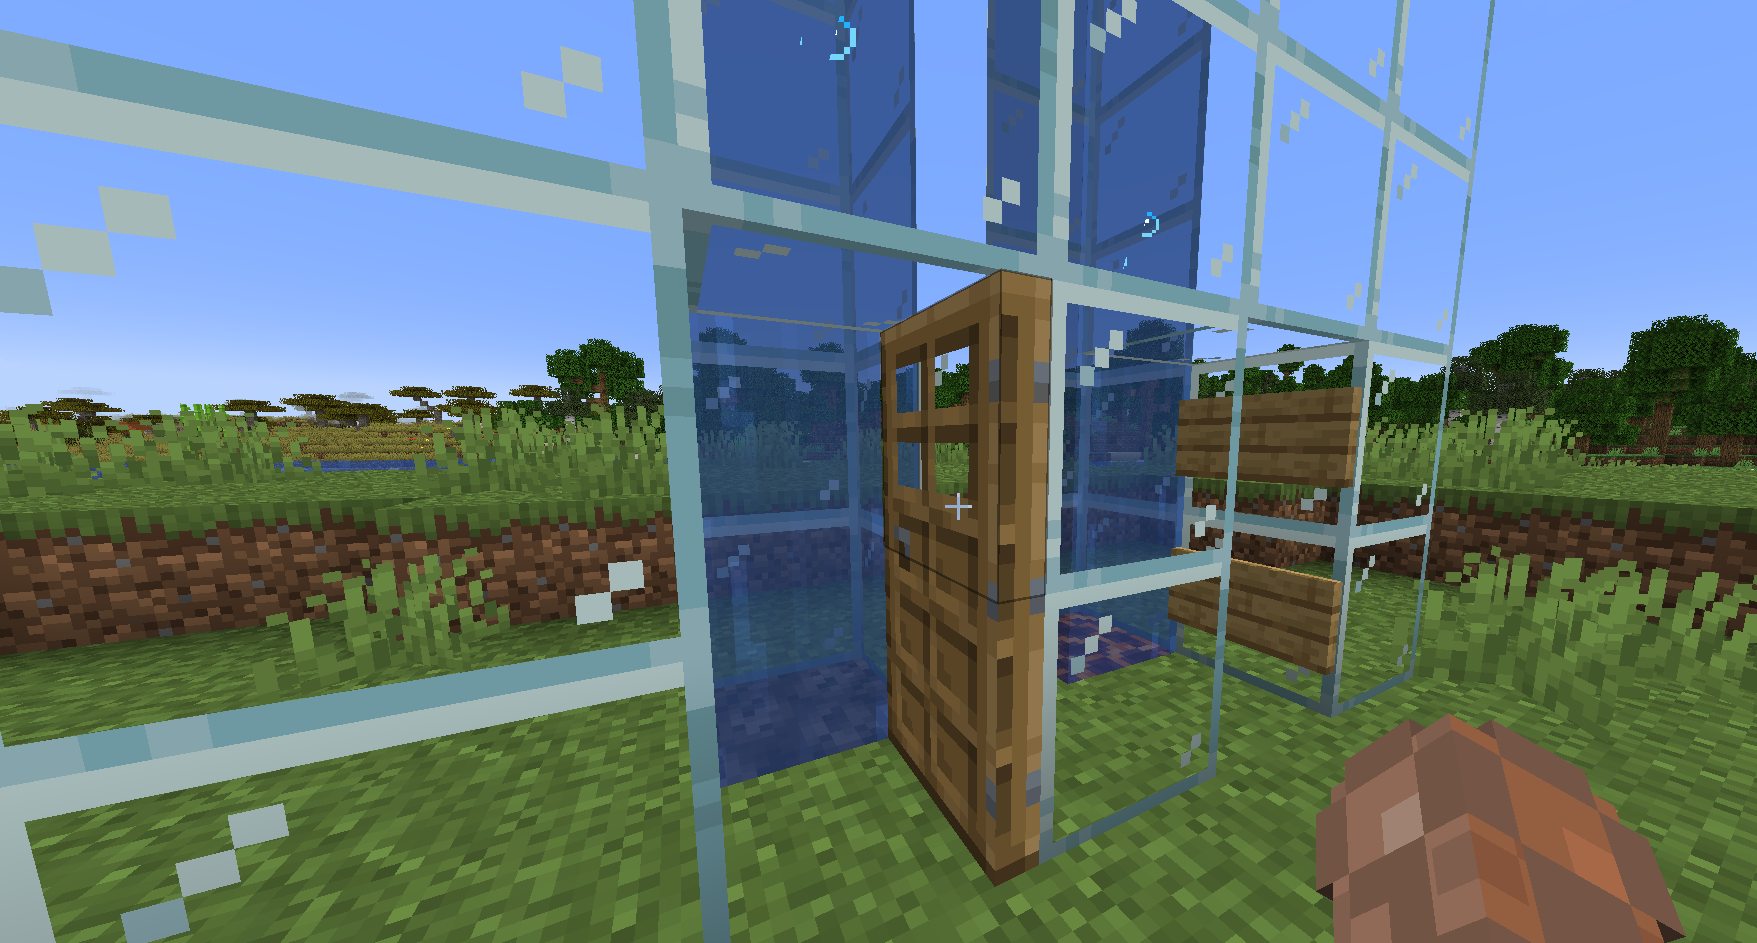
To prevent water from spilling out to the elevator shaft, place signs or doors at the entrances and exits. Either option will hold the water in place while still allowing you to walk in and out without flooding the surrounding area.
Customizing Your Water Elevator
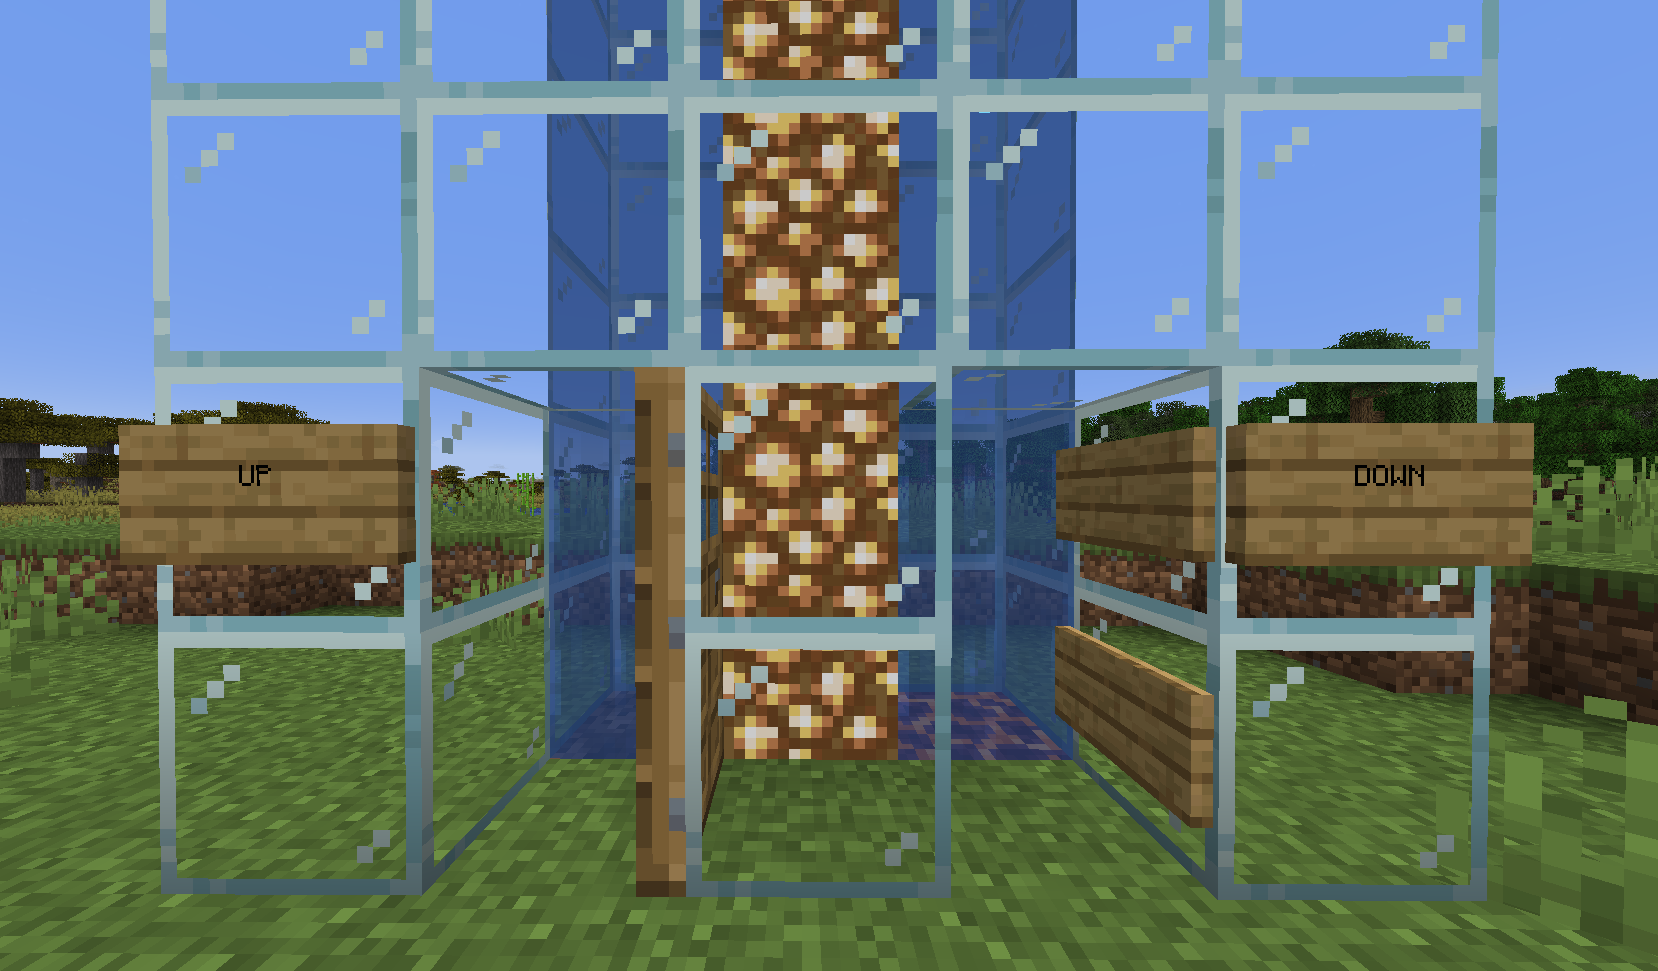
After building your aquatic contraption, you can make your build more visually appealing by adding some customization to your water elevator.
Glass Shaft: If you want a more modern, see-through design, use glass blocks to build your elevator shaft. This will allow you to see out of the elevator while going up and down and also allows you to watch other players use the elevator if built in a multiplayer server.
Lighting: Want to brighten things up? Try placing Glowstone or Sea Lanterns inside the elevator to add lighting to the shaft.
Multiple Stops: If your elevator is servicing multiple floors, you can easily add stops by placing doors or signs at each level. This allows you to hop on and off the elevator without the need of separate elevators for each floor.
Troubleshooting Common Issues
Water not flowing correctly?
Make sure all the water inside the shaft is made of source blocks, not just flowing water. This is where the kelp trick comes in handy.
No Bubbles?
Double-check that you place d the right blocks at the bottom of your elevator(s). Soul sand for going up and Magma block for going down.
Getting stuck?
If you’re having trouble moving up or down, make sure nothing is blocking the shaft. Sometimes blocks or items may get in the way. Additionally, there may also be a flowing water block. In that case, use kelp to fix it.

Alex is a gaming enthusiast with a passion in content creation and social media. In his free time,
he enjoys playing golf, building keyboards, and cooking.
Thanks for the advice of how to build a elevator