
Next up in our n8n tutorials is one of the most requested building blocks: connecting Google Sheets to n8n. Almost every workflow I’ve covered in this series eventually touches a spreadsheet… lead lists, content calendars, appointment logs. Get this connection set up once and you unlock a huge chunk of what n8n can do.
My problem: Every workflow I built that needed to read or write spreadsheet data hit the same wall — Google’s OAuth setup. It looks intimidating the first time, and the Google Cloud console doesn’t exactly hold your hand.
Solution: Set it up once, the right way, in about 5 minutes. After that, every workflow on your n8n instance can create sheets, append rows, and read data without ever touching the Google Cloud console again.
What you’ll need
Here’s the short list before you start:
- An n8n instance — I recommend NameHero’s N8N VPS plan (more on this in a second)
- A Google account — the same one that owns the Google Sheets you want to work with
- About 5–10 minutes
Getting started
Quick word on self-hosting since I keep bringing it up in this series. n8n is open source, so instead of paying for their cloud plans you can run it on your own VPS and just pay for the hosting itself. Every workflow run is free at that point, which matters once you have workflows firing dozens of times a day. The OAuth keys we’re about to create also stay on your own server instead of someone else’s.
So the first step is grabbing an N8N VPS plan from NameHero. It comes pre-installed with an n8n image, so there’s no install needed on your side — just purchase the hosting package and complete the setup in a few clicks. By the time you’ve finished your coffee, you’ll have your own n8n instance running on your own server.
Already have n8n running? Skip ahead.
Setting up your Google Cloud project
Head over to console.cloud.google.com and sign in. One thing before you click anything: make sure you’re logged into the Google account that actually owns your spreadsheets. If you’re on the wrong account, the connection will fail later and you’ll be scratching your head wondering why.
Click Select a project → New Project. Call it whatever you want — I just name mine after whatever I’m building. Once it’s created, make sure it’s actually selected. You’ll see “Now viewing project” with your project name at the top.
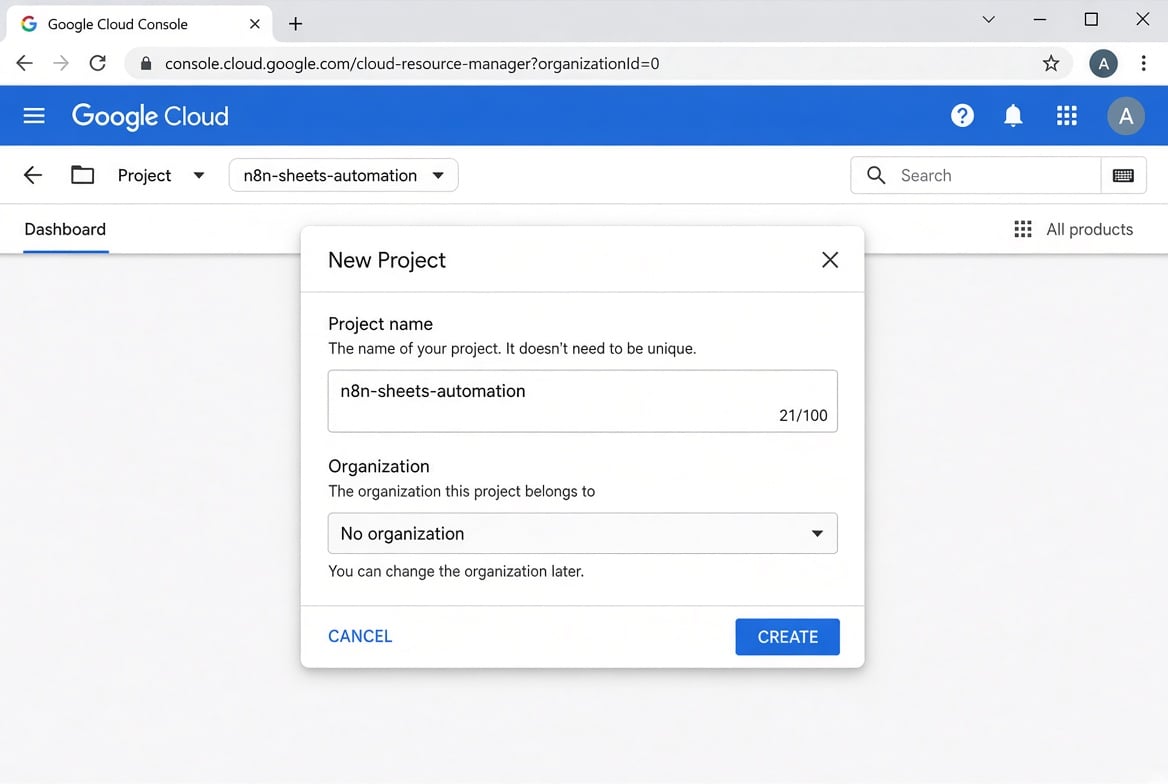
Figure 1. Create a new Google Cloud project and select it before continuing.
Next, search for Google Sheets API in the bar at the top and click Enable.
Don’t create credentials yet, though. Google makes you configure the consent screen first, and if you skip ahead you’ll just get bounced back here anyway.
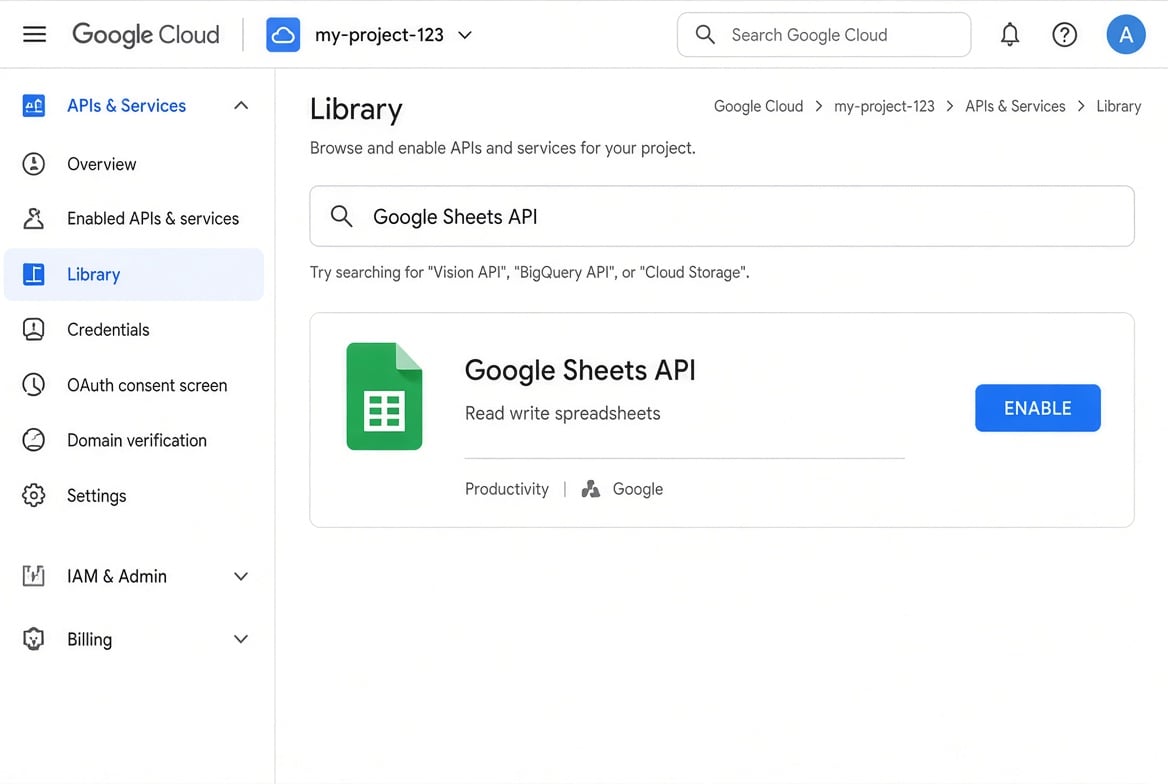
Figure 2. Enable the Google Sheets API on the project.
Configuring the OAuth consent screen
Go to OAuth consent screen (Google now often labels this Google Auth platform) in the left sidebar. Here’s the run-through:
- Choose External — unless you’re on a Google Workspace org, it’s the only option Google gives you anyway
- Name the app whatever you want
- Add a support email (your current email is fine)
- Skip the logo and domain fields… none of that matters for a personal automation
- Click Save and Continue
For Scopes, select the Sheets scopes (spreadsheets and usually drive.file), hit update, then save and continue.
For Test users, add the email of the Google account that has the sheets you want access to. This is the second place people trip up — if that account isn’t listed as a test user, Google blocks the sign-in later and the error message won’t tell you why.
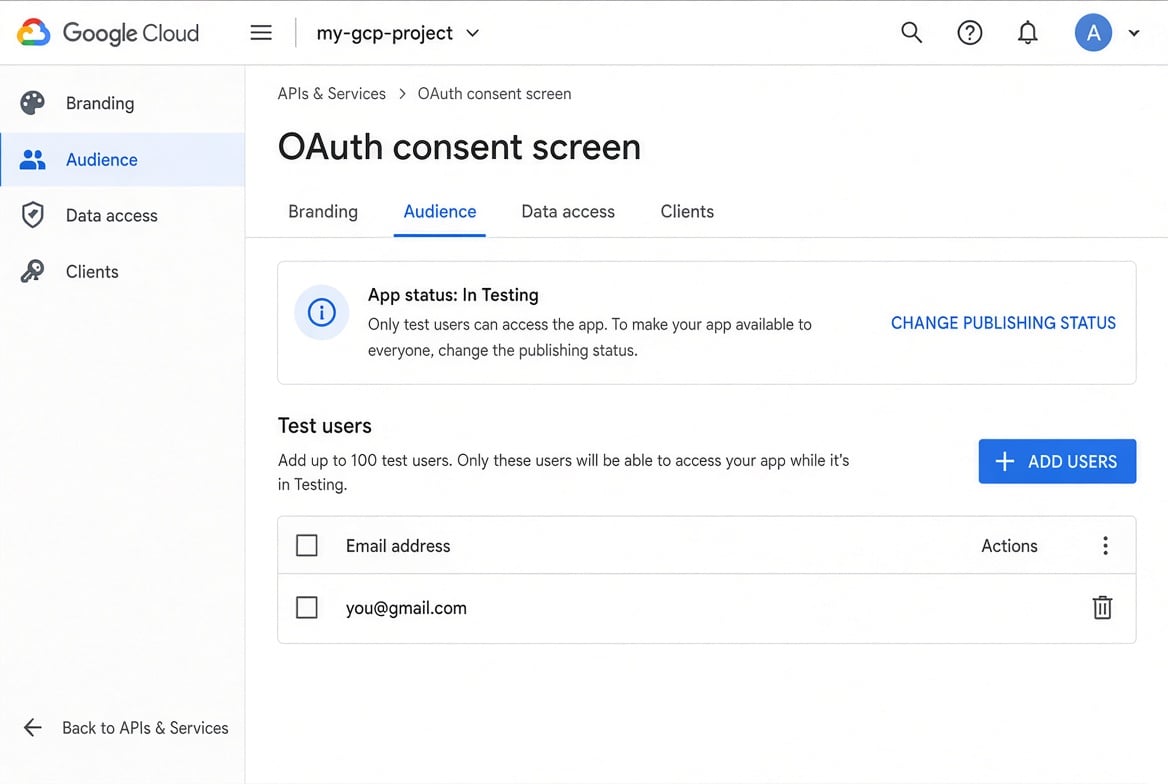
Figure 3. Add your own Google account as a test user while the app is in Testing.
Connecting your accounts
Now go back to Credentials and click Create Credentials → OAuth client ID:
- Name it something like “Google Sheets API”
- Application type: Web application
Leave that tab open, because we need something from n8n before we can finish.
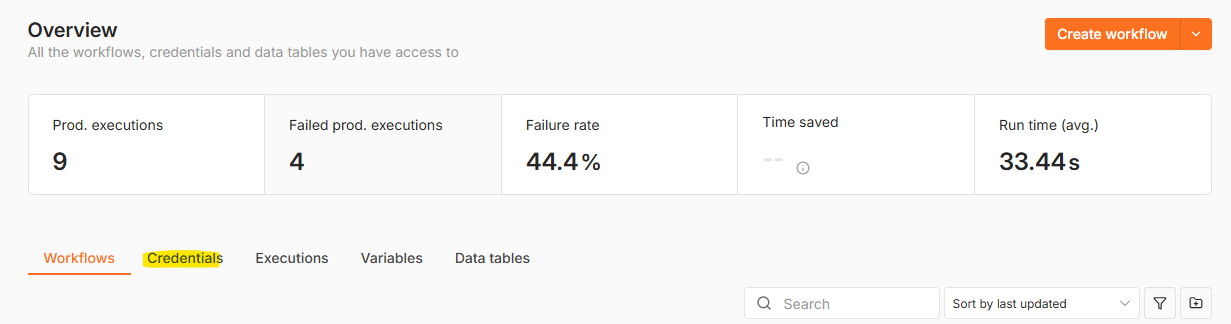
Open your n8n instance and go to Credentials → Add Credential → Google Sheets OAuth2 API. n8n shows you an OAuth Redirect URL — copy it, jump back to the Google Cloud tab, paste it into Authorized redirect URIs, and click Create.
Typical self-hosted format:
https://your-n8n-domain.com/rest/oauth2-credential/callback
It must match character-for-character (https vs http, no extra slash).
Google hands you two things: a Client ID and a Client Secret. Copy both into the matching fields in n8n. And obviously, don’t share these with anyone — they’re the keys to your spreadsheet kingdom.
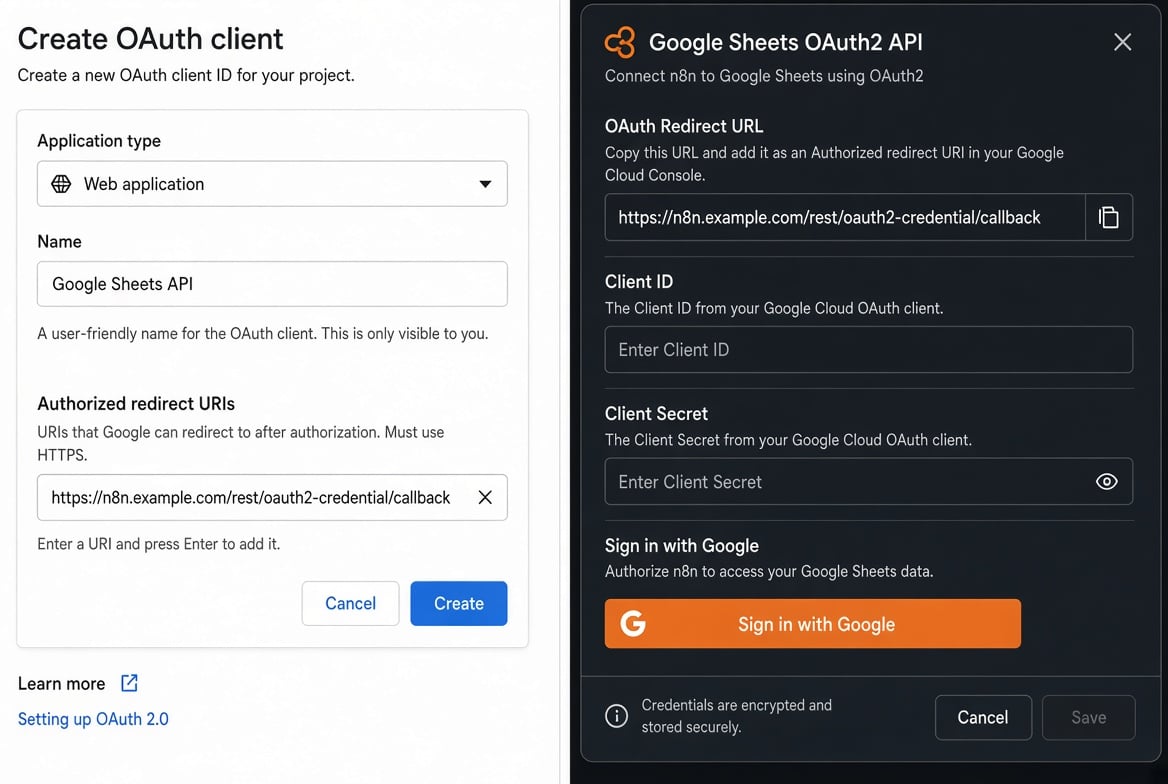
Figure 4. Paste n8n’s redirect URL into Google, then paste the Client ID and Client Secret back into n8n.
I always click Save first, then Sign in with Google. Pick the account you added as a test user. Google will throw up a scary “Google hasn’t verified this app” warning — that’s expected, it’s your own app. Click Continue, select all the permissions, and continue again.
One quirk to know about: after it says “Connected — the window can be closed,” the n8n credential screen sometimes won’t update. Don’t panic and don’t start over. Close the credential panel, refresh the page, and open it back up… it’ll show “Account connected.” Known little bug, not something you did wrong.
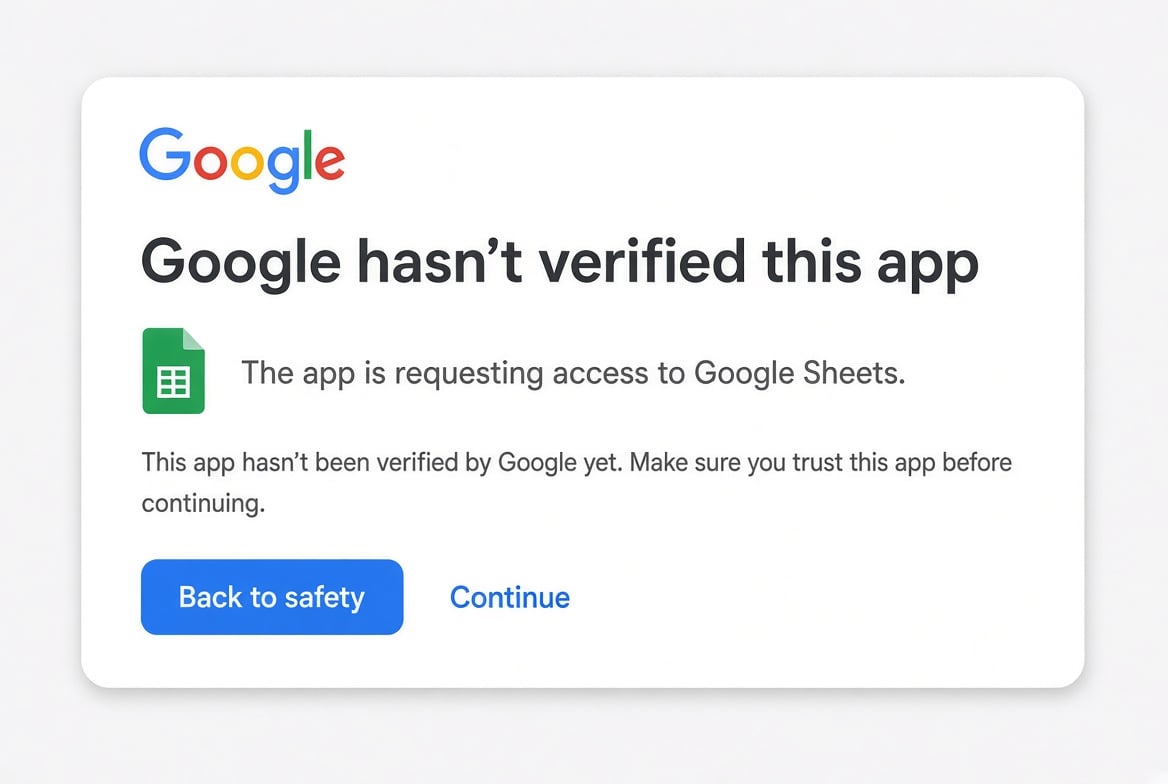
Figure 5. The unverified-app warning is normal for a personal OAuth client. Continue.
Testing it out
Let’s prove it works before we call it done:
- Create a new workflow with a Manual Trigger node
- Add a Google Sheets node
- Resource: Document. Operation: Create. Give the spreadsheet a title.
- Hit test
Now open Google Sheets in your browser. You should see your brand new spreadsheet sitting there. If it is, congratulations — Google Sheets is officially connected to n8n.
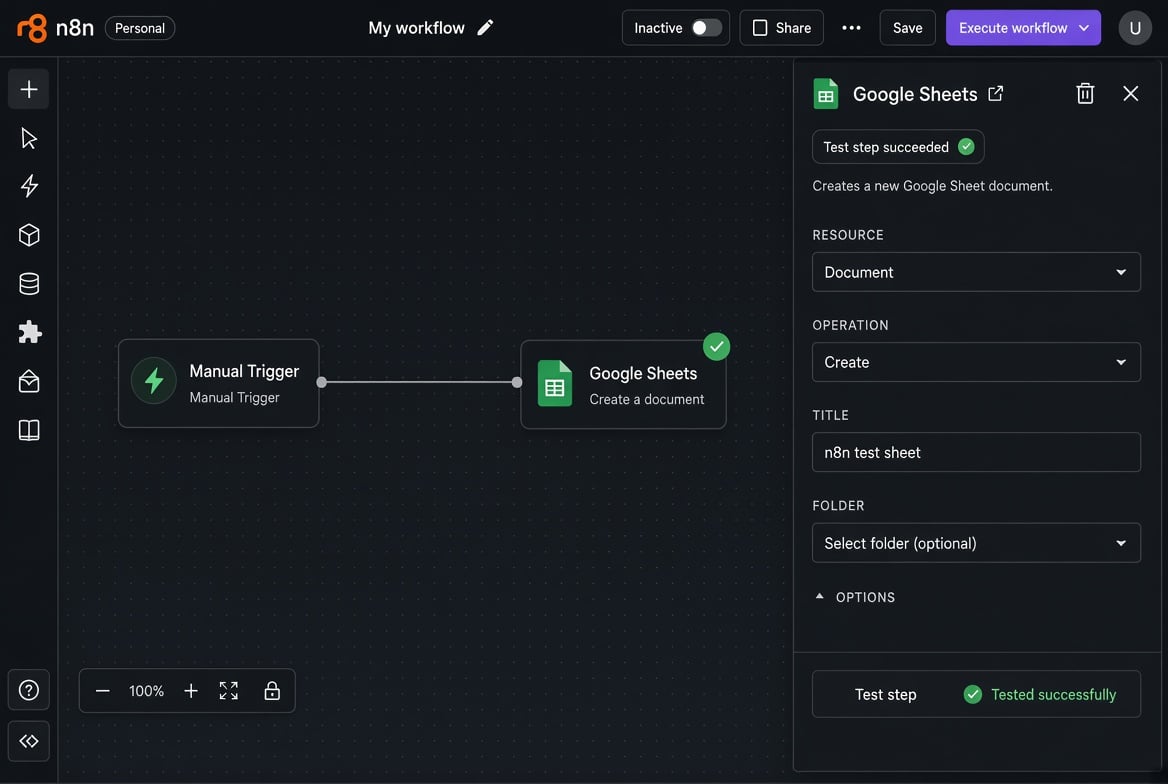
Figure 6. A one-node test: create a spreadsheet. If the file appears in Drive, the credential works.
Taking it further
Creating a blank spreadsheet is just the handshake. Now that the credential exists, every workflow on your n8n instance can use it:
- Append form submissions or leads to a sheet automatically
- Log appointment bookings from Calendly — we built that exact workflow here
- Read a content calendar from Sheets and auto-draft WordPress posts, like the workflow we covered here
Wrapping up
The Google Cloud console setup is genuinely the hardest part of working with Google Sheets in n8n, and it’s a one-time cost. Five minutes of clicking through consent screens buys you unlimited spreadsheet automation from here on out.
If you haven’t set up your own n8n instance yet, grab an N8N VPS plan from NameHero — n8n comes pre-installed, so you’re a few clicks from your first workflow, and you skip the per-execution pricing entirely while keeping your credentials on your own server. And if you build something with this connection, let me know in the comments… I’m always looking for the next workflow to cover in this series.
Self-hosted vs n8n Cloud: This walkthrough is the self-hosted path (you paste Client ID and Client Secret). n8n Cloud often uses managed OAuth and hides those fields.

John is the COO of NameHero and is an entrepreneurial, data-driven digital marketer and business operator with +16 years of experience across many different marketing channels, industries and strategies (B2C & B2B).
Leave a Reply