

Are you ready to harness the power of a Virtual Private Server (VPS) from NameHero? Ordering your own VPS is an exciting step, and in this comprehensive guide, we’ll guide you through the process step by step. From selecting your VPS plan to completing your order, we’ve got you covered.
Setting up a VPS hosting account can be an exciting experience, especially if you’re new to the world of virtual private servers. It’s a pathway to gaining greater control over your web hosting environment, with the ability to customize your resources and server configuration according to your needs. Whether you’re a seasoned user or a newcomer to VPS hosting, we’ve got you covered. Let’s dive right into the process of ordering your NameHero VPS and kickstart your journey to enhanced web hosting.
Ordering
To begin, head over to NameHero’s VPS hosting page and select the VPS plan that suits your needs. In this guide, we’ll be choosing the Starter VPS plan.
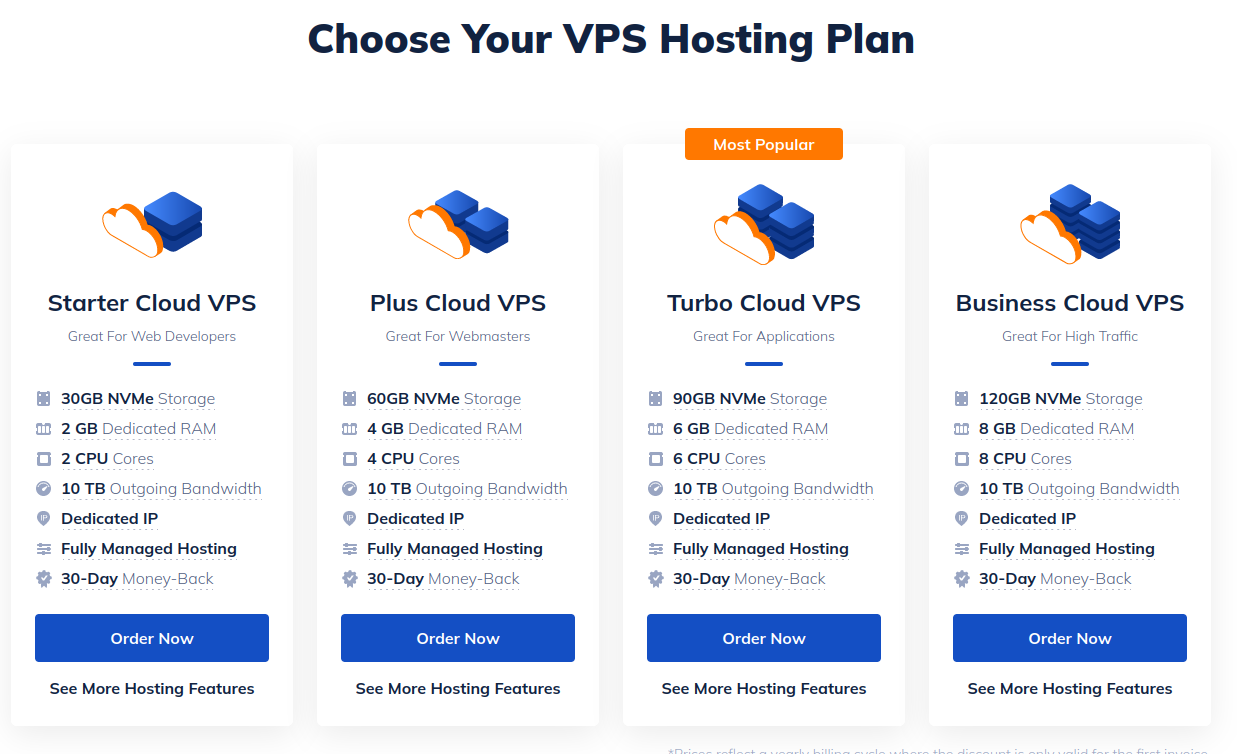
Be aware that plans and pricing are subject to change, see the link above for current plans and pricing.
Configure VPS Hosting Package
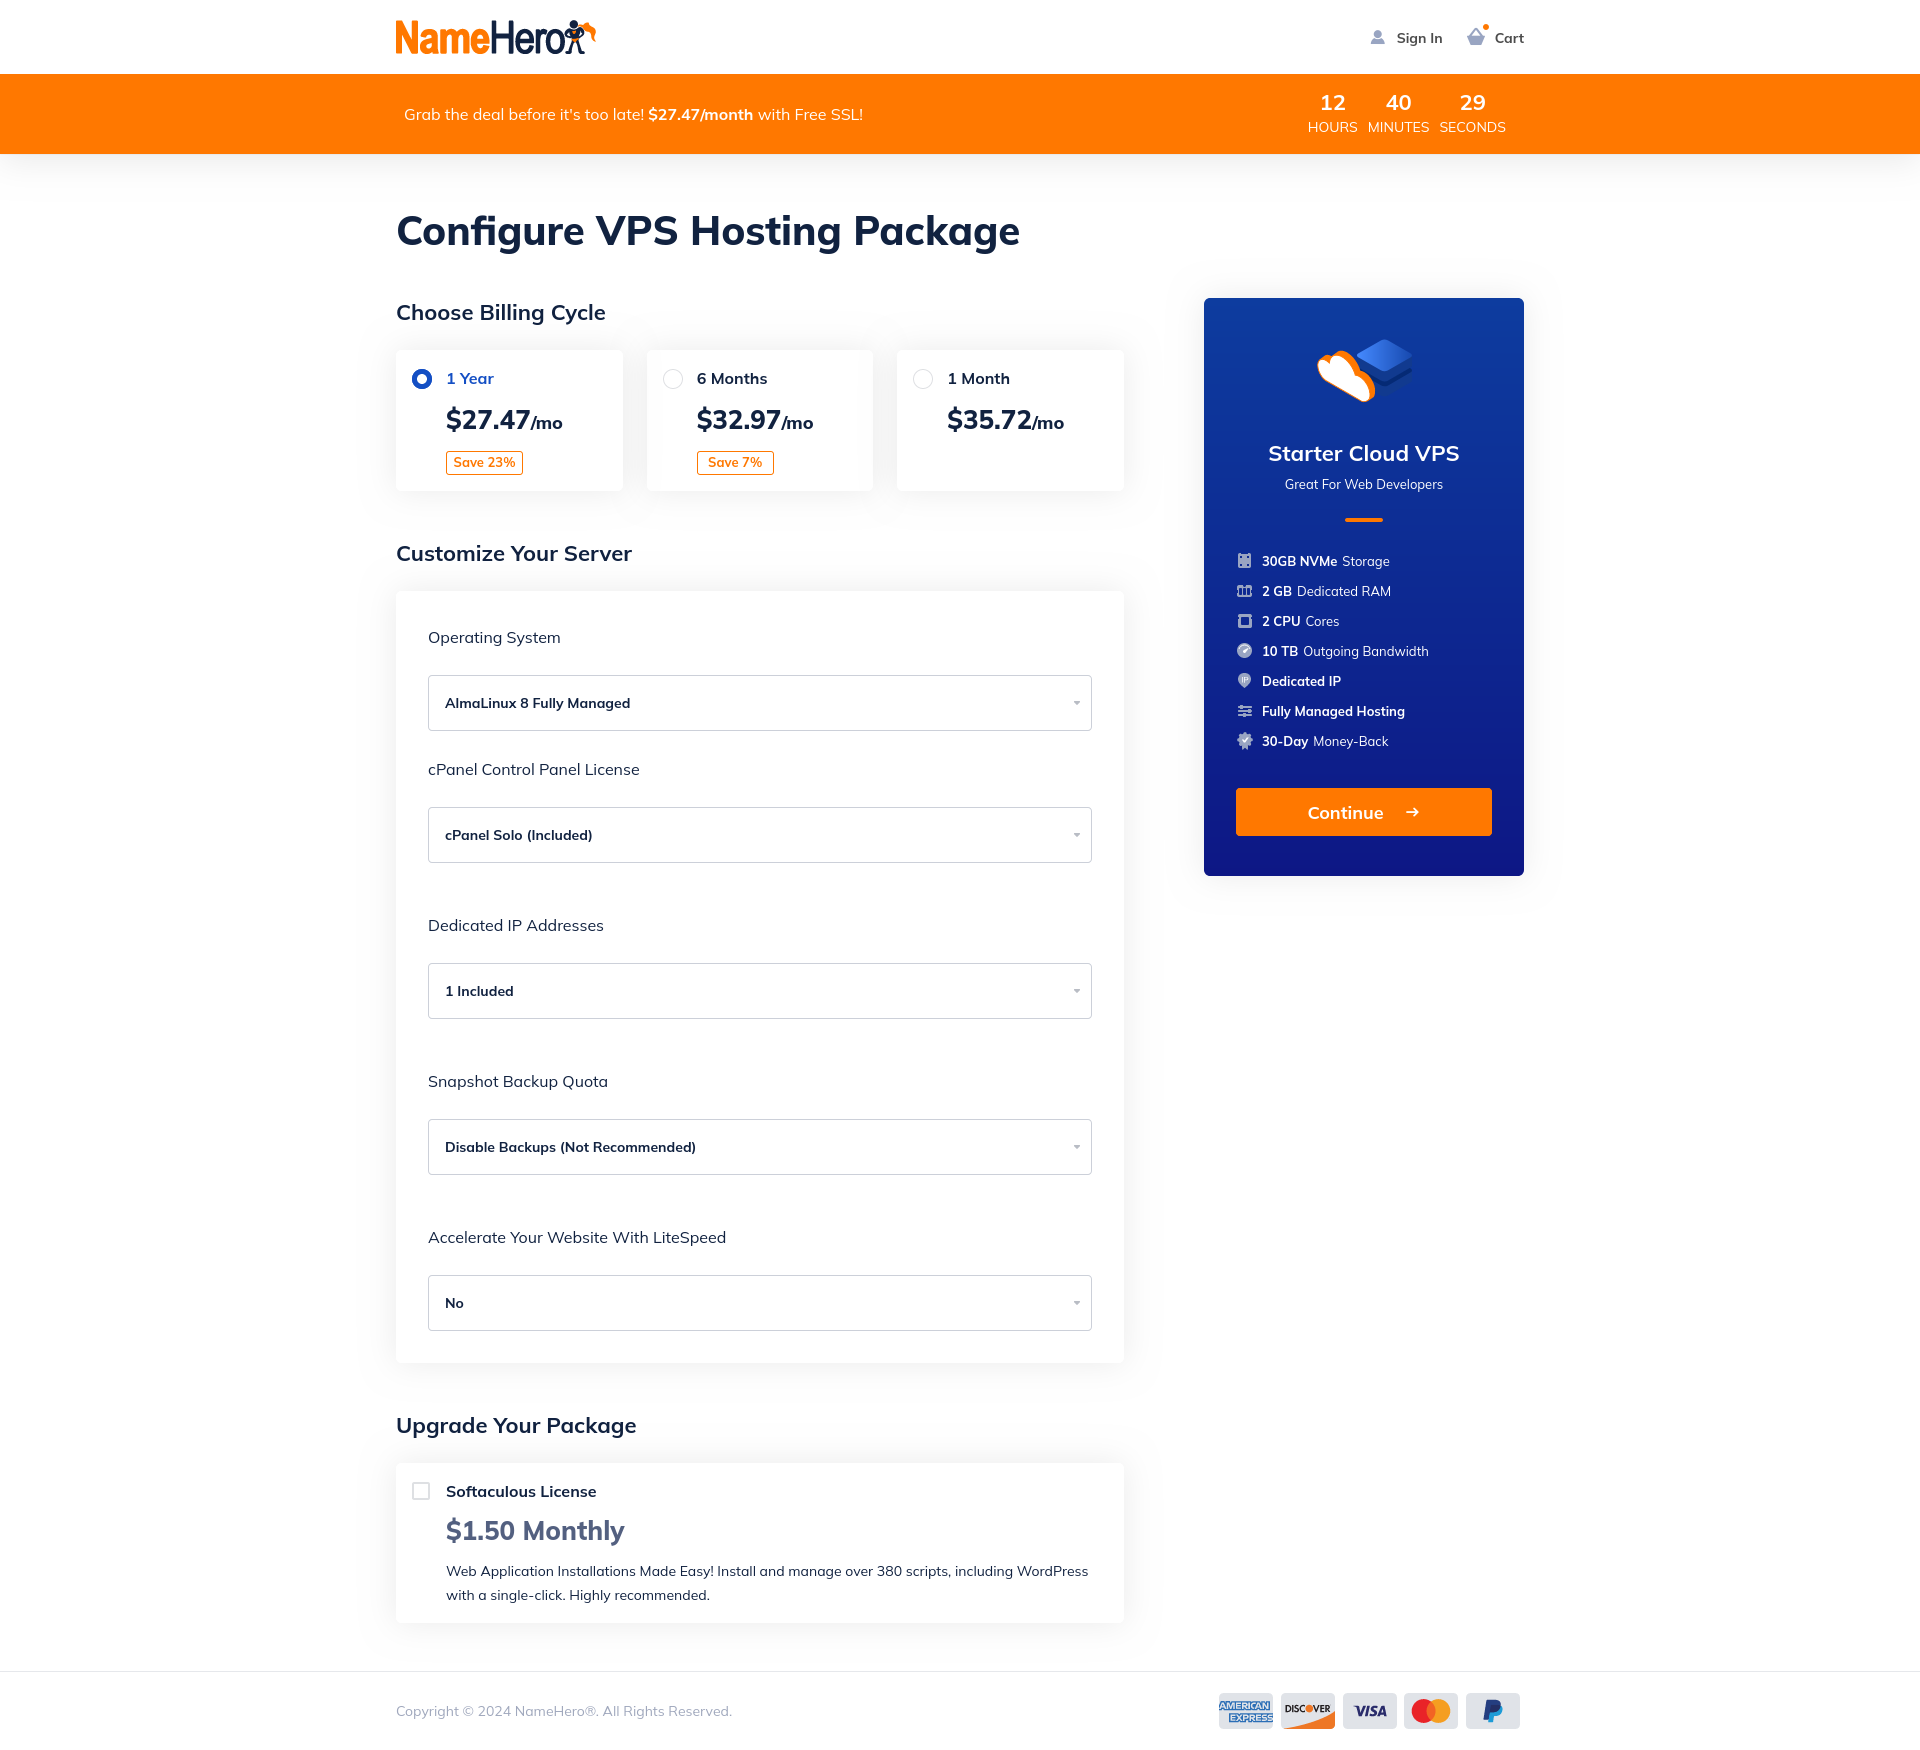
Decide whether you want to be billed yearly, every six months, or monthly, with discounts available for longer billing cycles. Next, customize your VPS by selecting:
Next, we need to choose from the following:
- Operating System
- cPanel Control Panel License
- Dedicated IP Addresses
- Snapshot Backup Quota
- LiteSpeed
- Softaculous License.
Remember, backups are crucial for data security, so make sure to select an appropriate backup option.
Click “Continue” on the right side of the page once you’ve made your choices.
Review & Checkout
On this page, you’ll find that the hostname is automatically generated. Review your order to confirm the details. If you have a promo code, enter it here. New customers, this is where you’ll create your account, providing your name, email, phone, billing address, and password.
Choose your payment method, which can be a card, PayPal, or Coinbase. If you wish to receive special offers via email, leave the switch on (you can change this later in your account settings). Be sure to read and agree to the terms of service.
Click the “Checkout” button on the right side of the page to complete your order.
After The Order
Following your order, you’ll receive two emails, though new cus4tomers will receive one additional welcome email. You’ll get a confirmation email that the order was made and a second email confirming access details for the server once things are up and running. You may also choose to get that information from the account dashboard.
The Dashboard: Server Actions And Tools
From the My Dashboard page click “Manage next to the new server listed under Your Active Products/Services.On this page, under Actions, there are buttons to start, stop, reboot, and shut down the VPS.
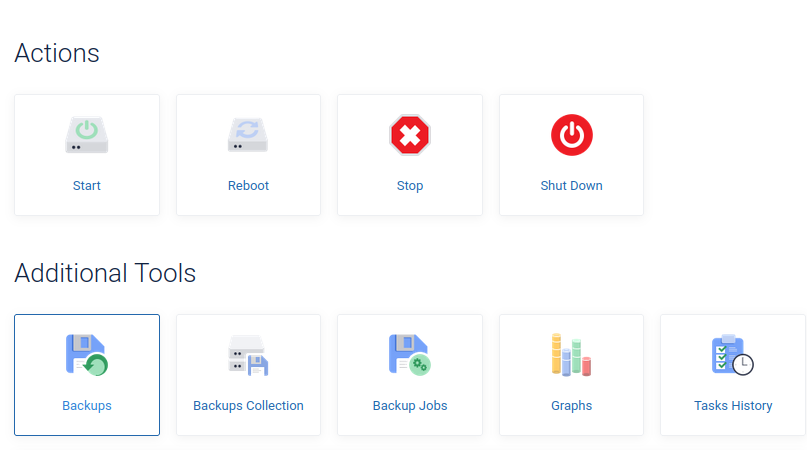
Additionally, below that you will find data related to backups, Usage graphs, task history, and more server information.
Accessing WHM
Once the VPS is up and running on the server dashboard you can click to login WHM.
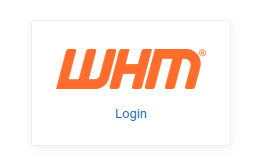
Alternatively, you can access it using the server’s hostname followed by “:2087” (e.g., https://hostname.nodevm.com:2087 unique to your service, automatically set up).
If you encounter an SSL warning, proceed by clicking “Advanced” and then “Continue”. SSL warnings can be safely ignored for now because this is your server. Additionally, auto SSL will run and resolve this message within a few hours.
Creating A cPanel Account
⚠️ Warning: for live or pre-existing websites, please put in a migration request rather than making the account manually.
Now that you are inside WHM (Web Host Manager) the next thing to do is to get a cPanel account set up. To do this look under ‘Favorites’ for ‘Create an account’. Note if you don’t see it right away you can always search for it using one of the two search boxes inside of WHM:
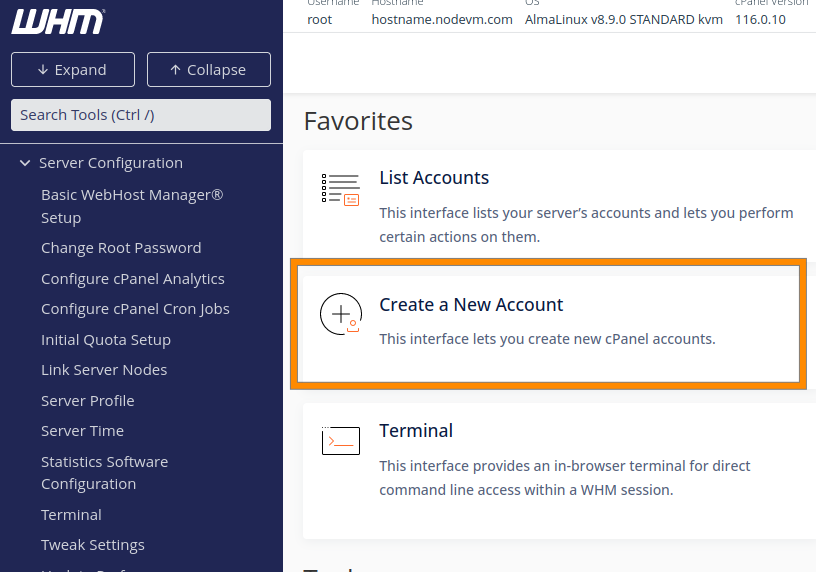
Once there we will need to at minimum enter the following information
- domain
- username
- password
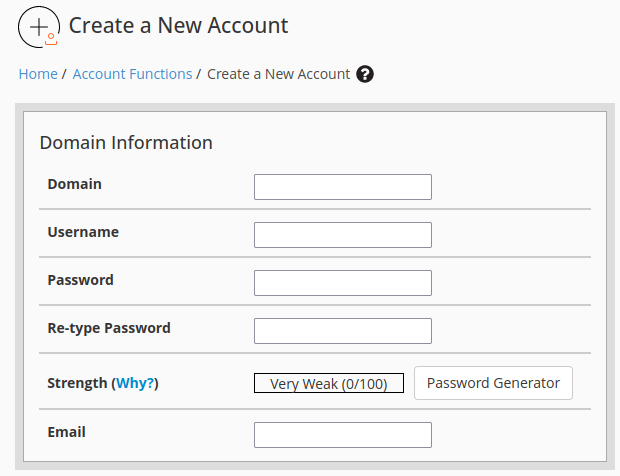
Explore the optional options; they might be beneficial for your specific needs.
Click “Create” to create the cPanel account.
Setting up Name Servers/DNS
For DNS we point the nameservers for our new domain to the automatically generated ones listed in the same NameHero Dashboard under the Product Details page for your VPS hosting. You will see a Primary Nameservers section listing ns1/ns2 name servers (e.g., ns1/ns2.hostname.nodevm.com).
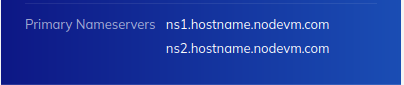
You going to want to note these down and then visit the dashboard for the company you registered your domain with to set up these nameservers instead of the default ones.
Free SSL Though AutoSSL
WHM/cPanel includes AutoSSL which allows the server to attempt to automatically generate SSL Certificates for domains added with cPanel accounts. As long as it can validate using DNS or adding a file to the website it can validate in the background behind the scenes. However, if you need to run AutoSSL run manually for example to try and speed things up go to Home / SSL/TLS / Manage AutoSSL and click Run AutoSSL For All Users.
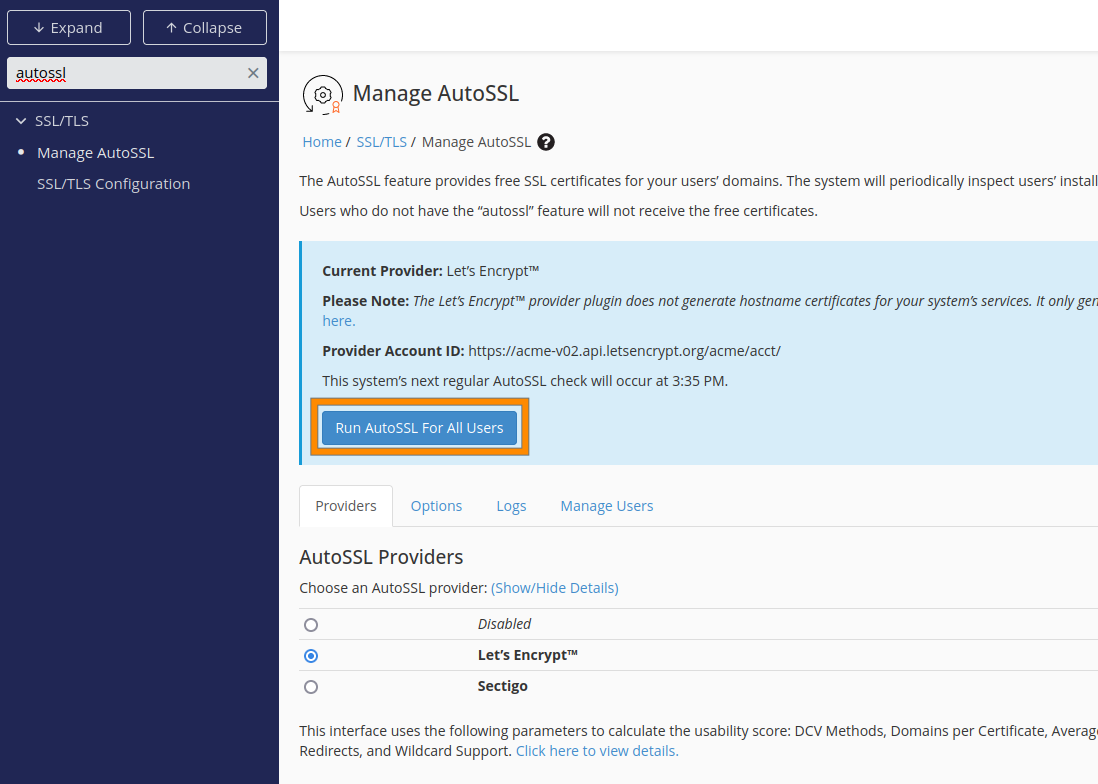
Accessing cPanel
After creating the cPanel account, you can access it using the blue “Go to cPanel” button or via the server’s hostname followed by “:2083” (e.g., https://hostname.nodevm.com:2083). If you encounter an SSL warning, proceed by clicking “Advanced” and then “Continue.”
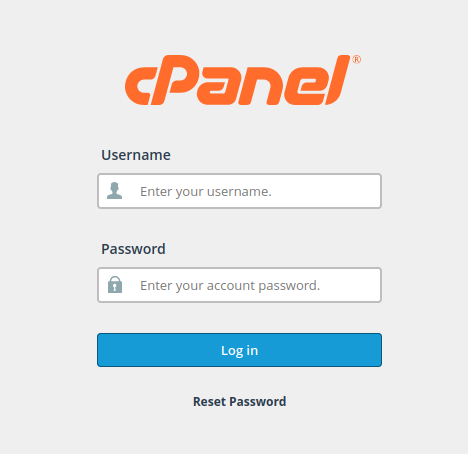
Once there if you are asked to log in this is the username and password set when you created the cpanel account in the step above.
What to Do After Logging Into cPanel?
With access to cPanel, your journey begins. You can create a website using a Content Management System (CMS), upload a website that was built elsewhere, set up email accounts, and much more.
Using A CMS Check Out Softaculous Premium
If you plan on using a CMS such as WordPress it is recommended to get a Softaculous Premium license as it allows for a one-click install of many apps including WordPress. It also includes WordPress Manager, the ability to clone installations, backups, updates, the ability to create a staging instance, and more. To order if you didn’t at checkout click here.
Setting Up An Email Account
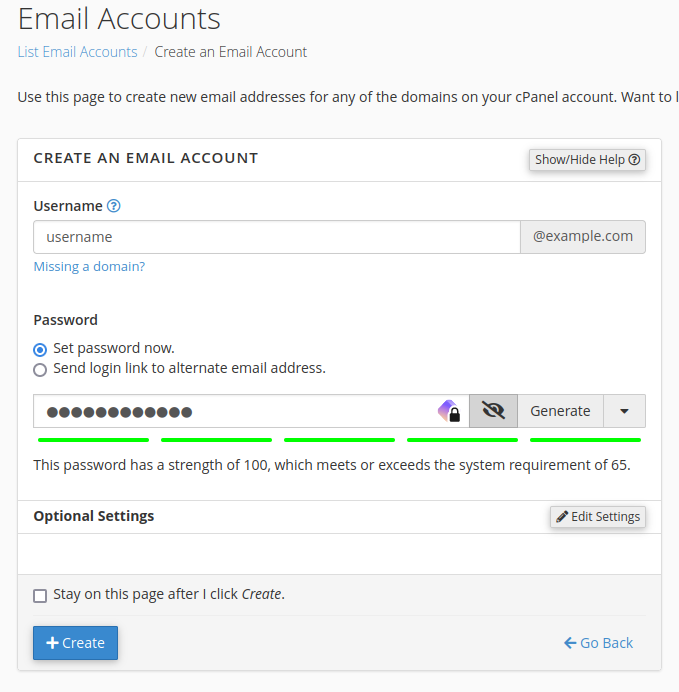
In cpanel click email accounts. There you will see a blue create button enter the desired username and password then again click Create.
For users with external DNS please note that you will need to make sure changes are made to allow email to be used to avoid future issues. Example records using example.com are below make sure to replace example.com with your domain.
Recond One (The MX Record)
- Name: example.com
- Type: MX
- Record: mail.example.com
Recond Two (The A record to the server IP)
- Name: mail.example.com
- Type: A
- Record: The server IP address
In addition to these records please add the records listed under cpanel in the email deliverability section to DNS. To view those go to Email Deliverability and click manage on the domain in question
SFTP And SSH
Keep in mind that for SFTP and SSH, use port 37980 with SSH keys, which should be set up within WHM/cPanel. To set up an SSH Key in cPanel go to SSH Access and click Manage SSH keys.
From there you can either import or generate a new key by clicking the respective buttons at the top of the page.
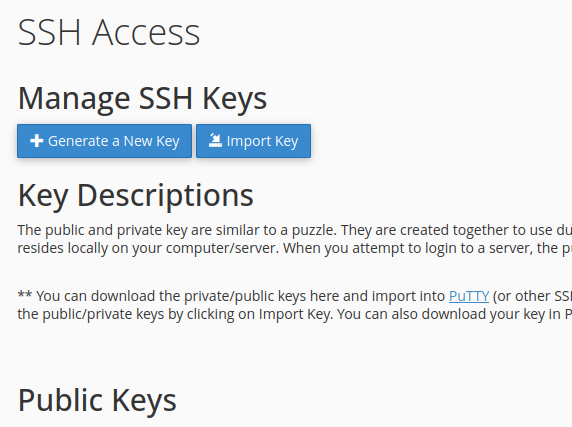
To create a new key pair. Once you have clicked on the generate a new key button you will be asked for a Key Name, Key Password, Key Type, and Key Size.
- For the name choose something descriptive so you know who the key is for.
- For the password, we recommend you generate the password and then document that down securely for example in a password manager
- For key type and size use RSA and 4096.
If you need FTP instead of SFTP, don’t hesitate to contact us via a support ticket for assistance.
Essential Security Tips and Best Practices
Securing your Virtual Private Server (VPS) is critical in safeguarding your data and ensuring uninterrupted service. Here are key measures you can implement to enhance your VPS security:
1. Regular Updates:
- Stay Updated: Regularly update your operating system and all installed software. Consider enabling automatic updates to ensure you’re always running the latest versions, which include essential security patches.
2. Strong Passwords:
- Robust Passwords: Use complex, unique passwords for all your accounts. Utilize a password manager to keep track of your passwords securely.
3. Firewall Configuration:
- Basic Defense: Set up a firewall to monitor incoming and outgoing traffic. This acts as a first line of defense against unauthorized access.
4. Secure SSH Access:
- SSH Keys Over Passwords: For SSH access, use SSH keys instead of password-based logins. Also, consider changing the default SSH port to reduce the risk of brute-force attacks.
5. Routine Backups:
- Backup Regularly: Implement a backup strategy that includes frequent automated backups. This is crucial for data recovery in case of accidental loss or a security breach.
6. SSL/TLS Certificates:
- Encrypt Data Transmission: Use SSL/TLS certificates to secure data in transit. This is especially important for websites and web applications running on your VPS.
7. User Access Control:
- Limited Privileges: Grant user permissions based on the principle of least privilege—users should have only the access necessary to perform their tasks.

Embracing a lifelong passion for technology since childhood, CJ delved into the intricate workings of systems, captivated by the desire to understand the unknown. This innate curiosity led to his discovery of Linux, a revelation that resonated deeply. With more than 7 years of on the job experience, he’s honed his technical skills as a Geek and Senior Linux Systems Administrator.
Leave a Reply